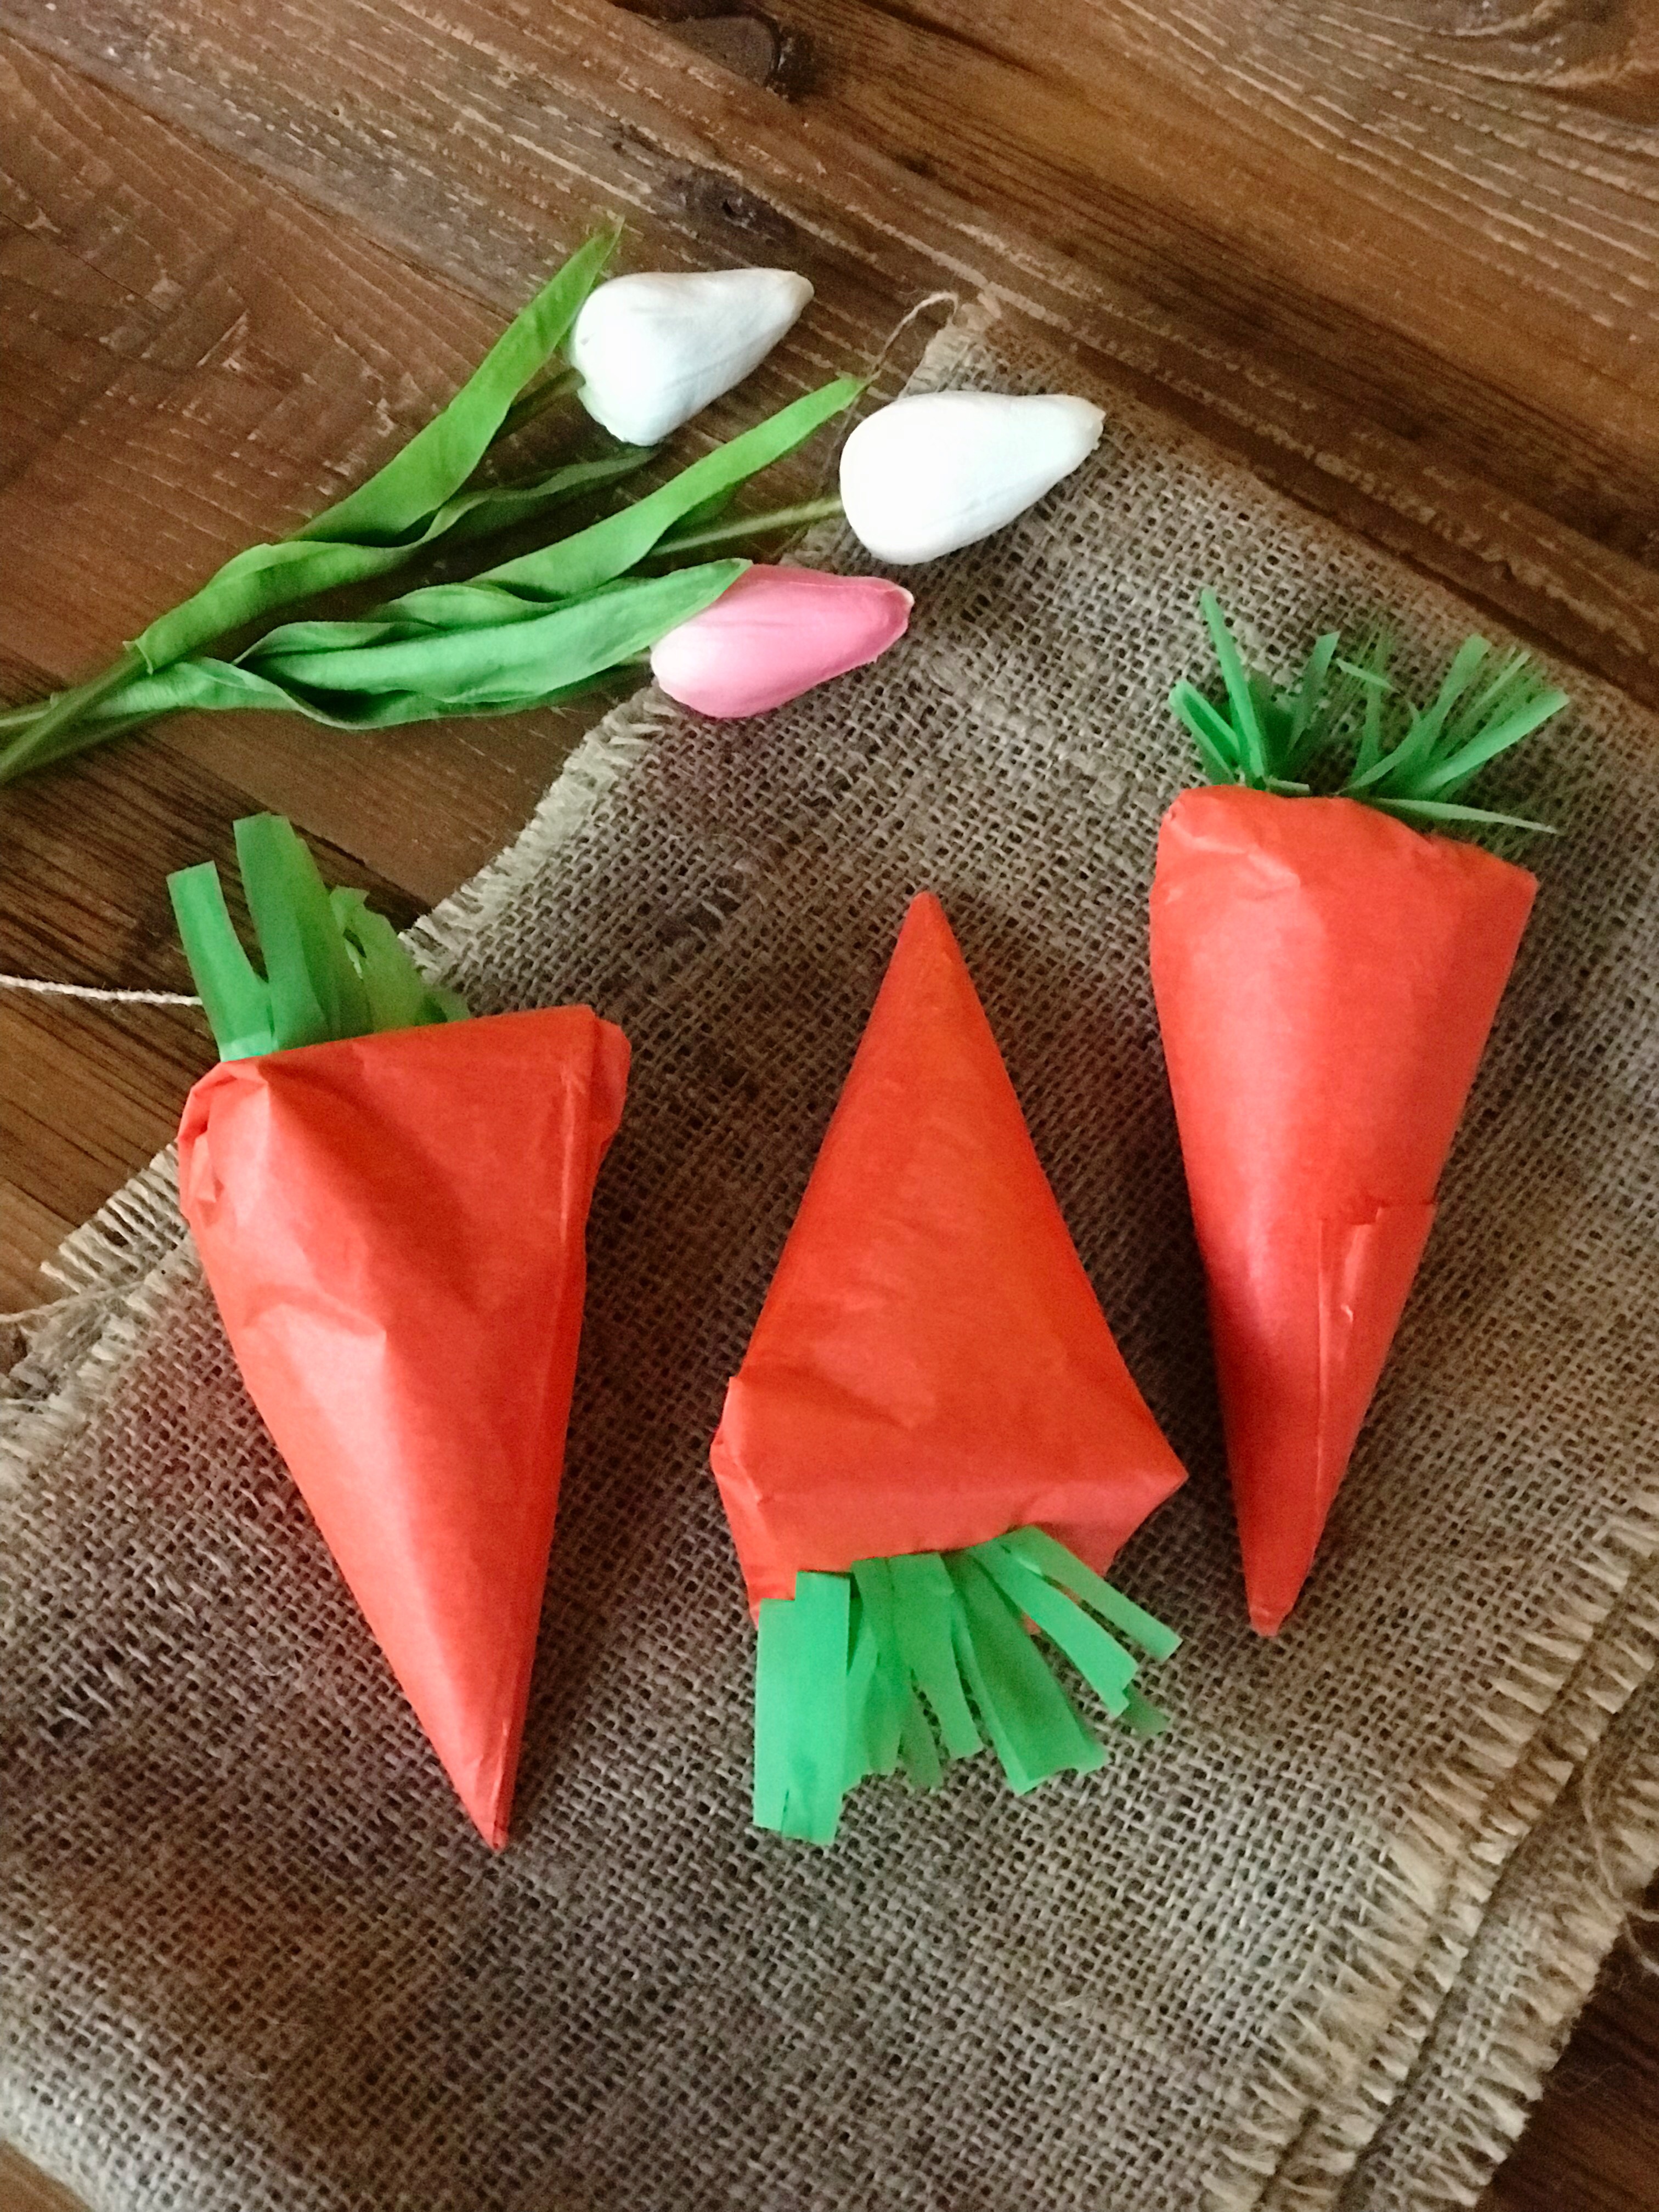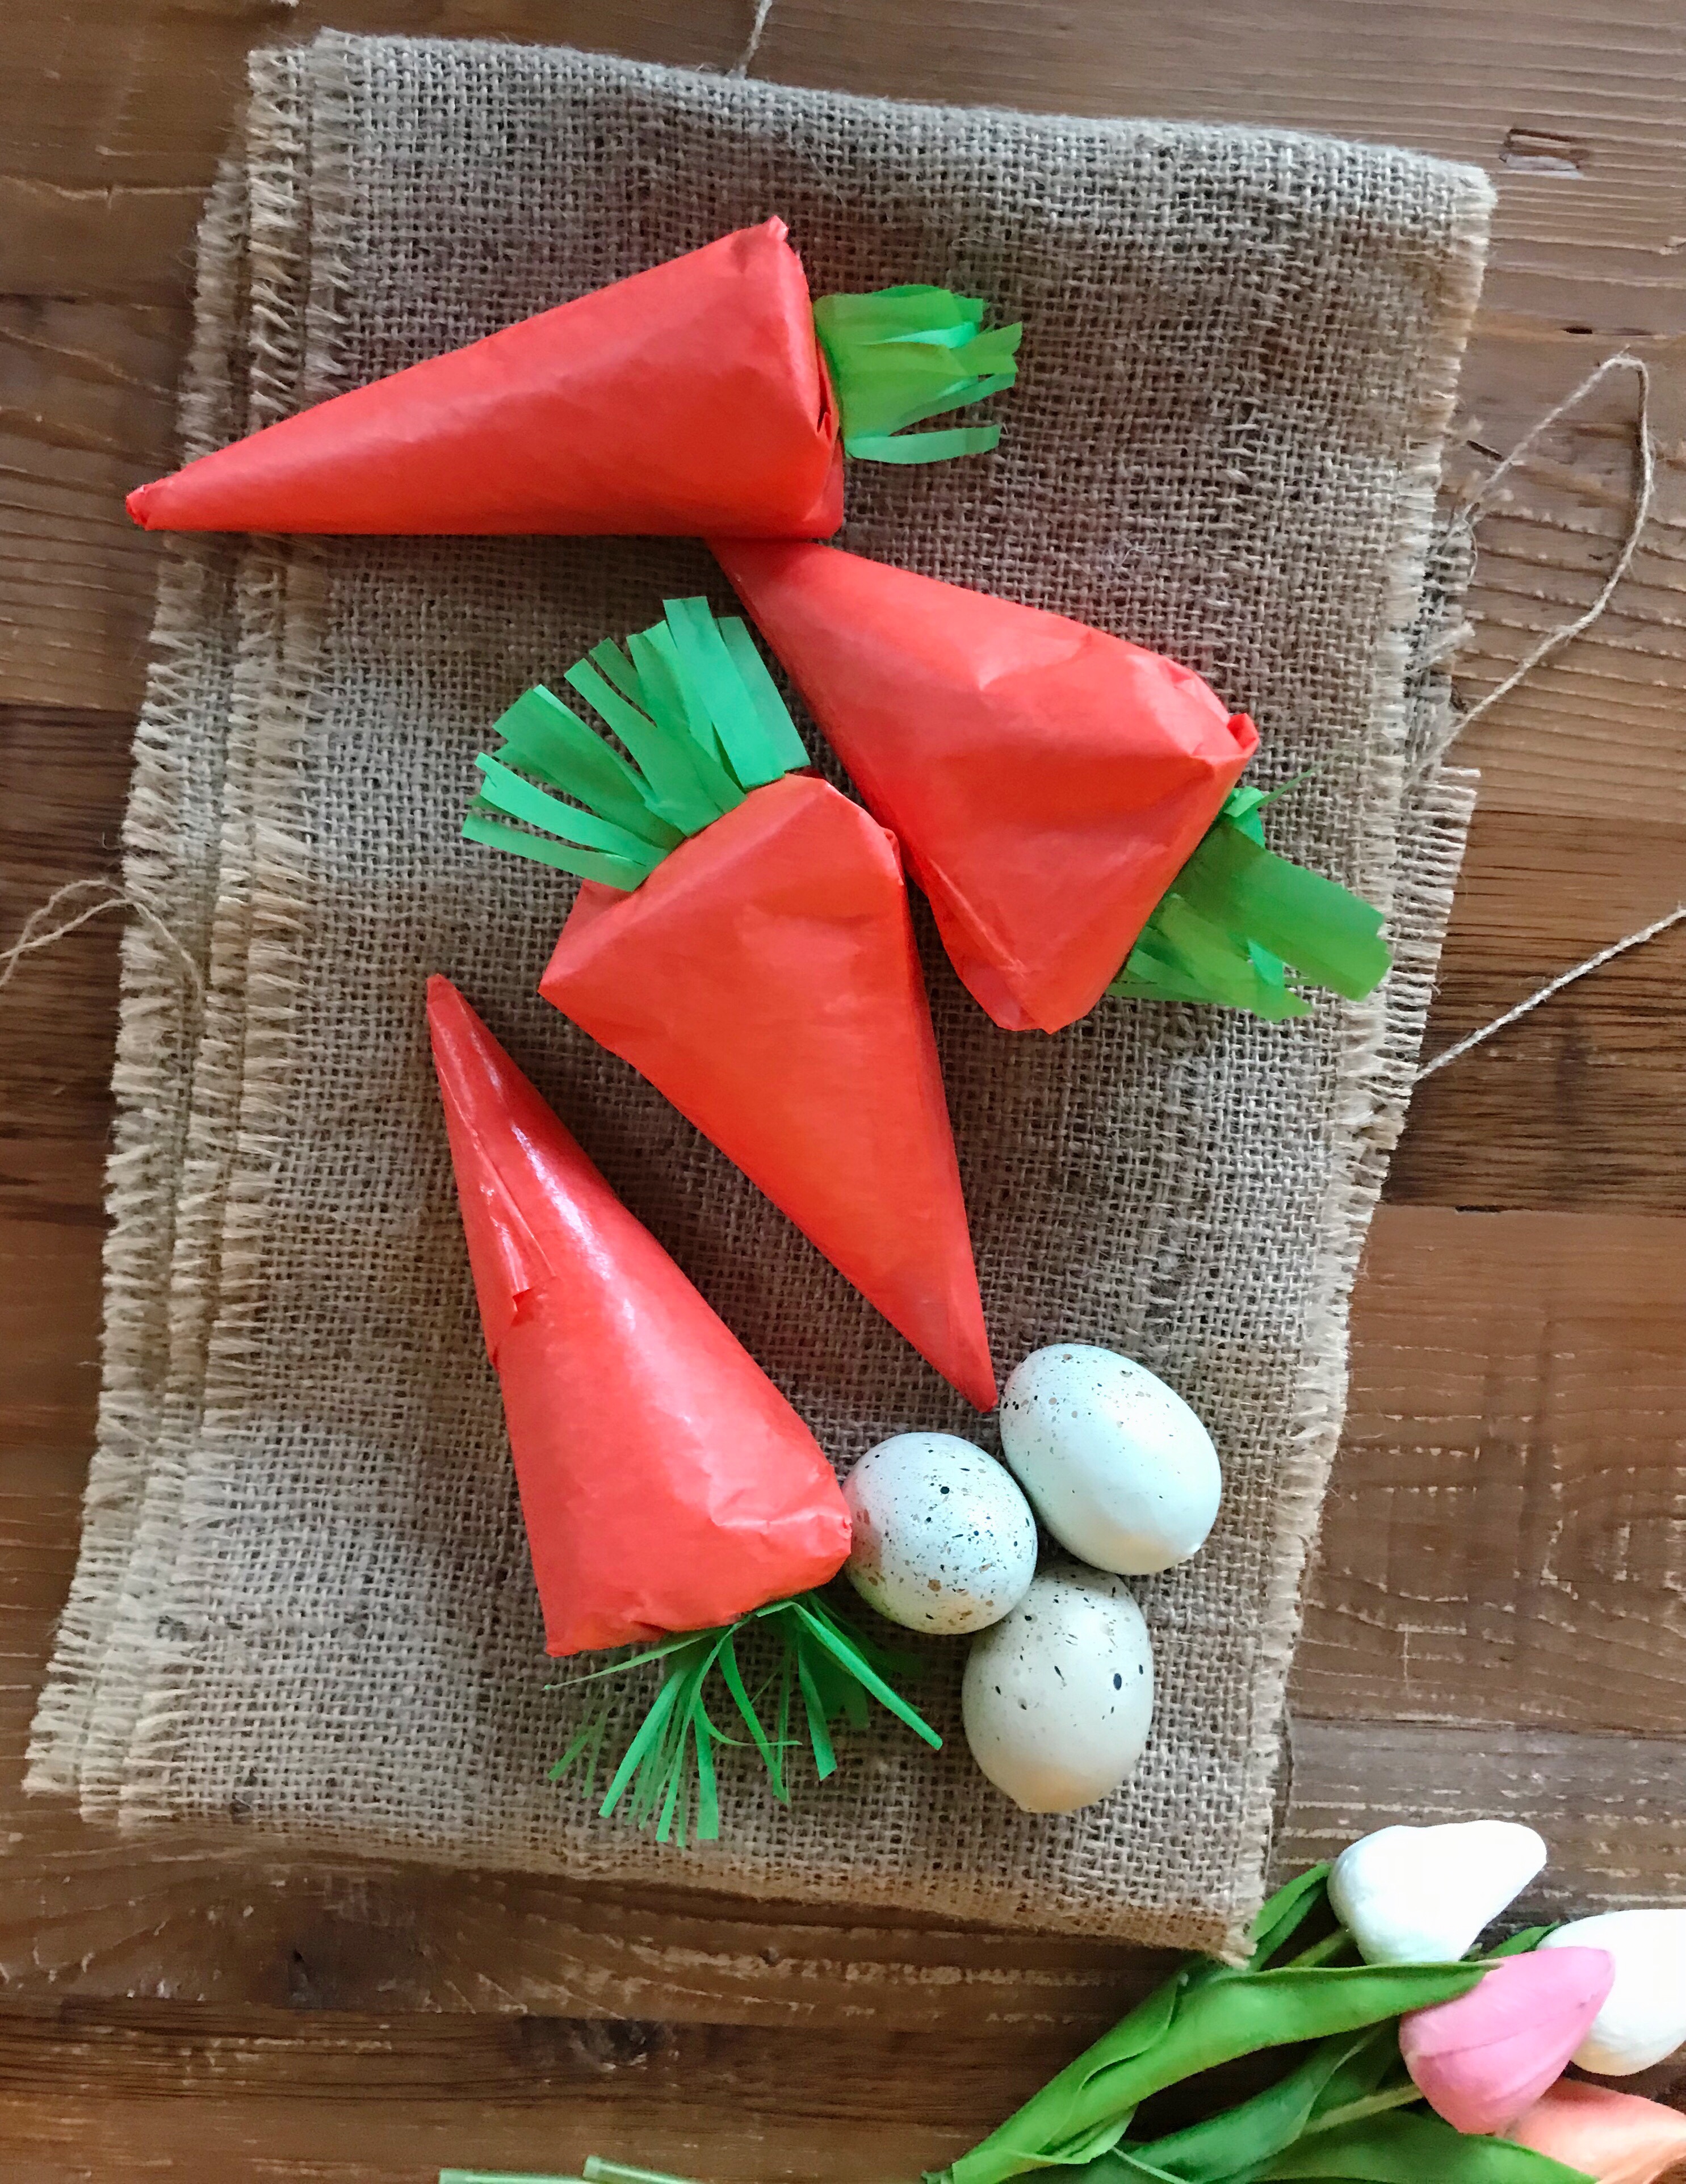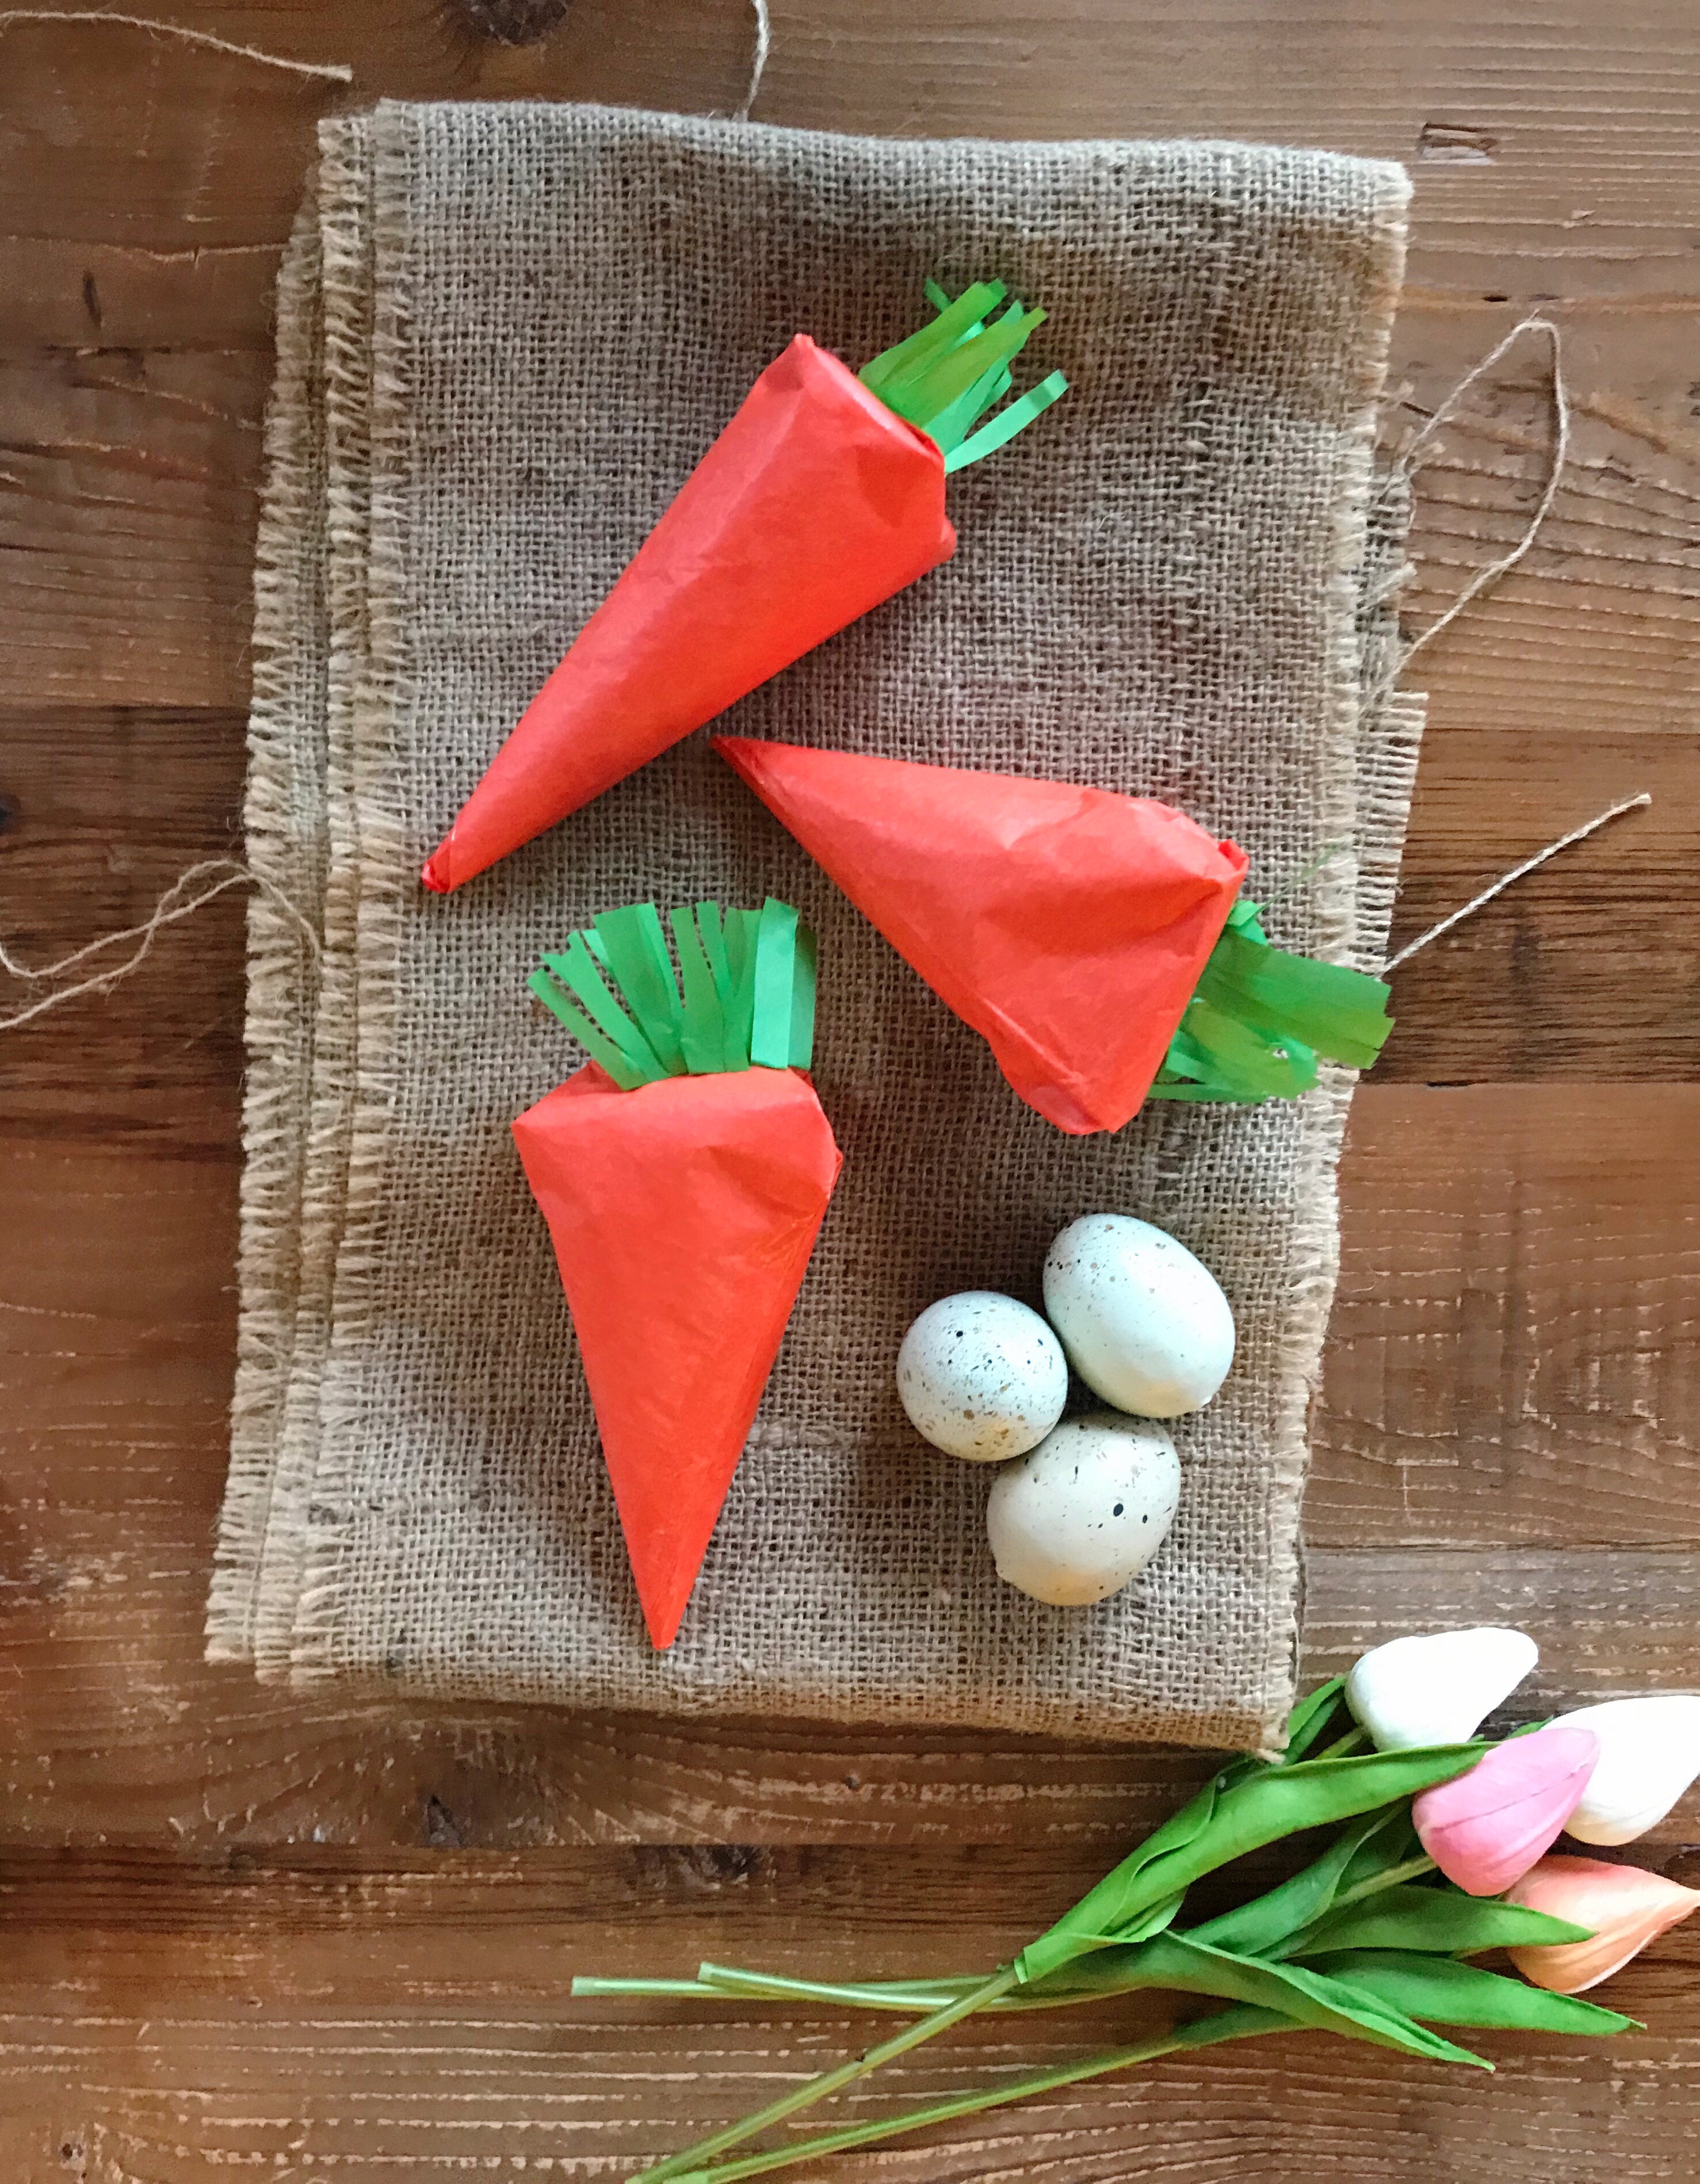
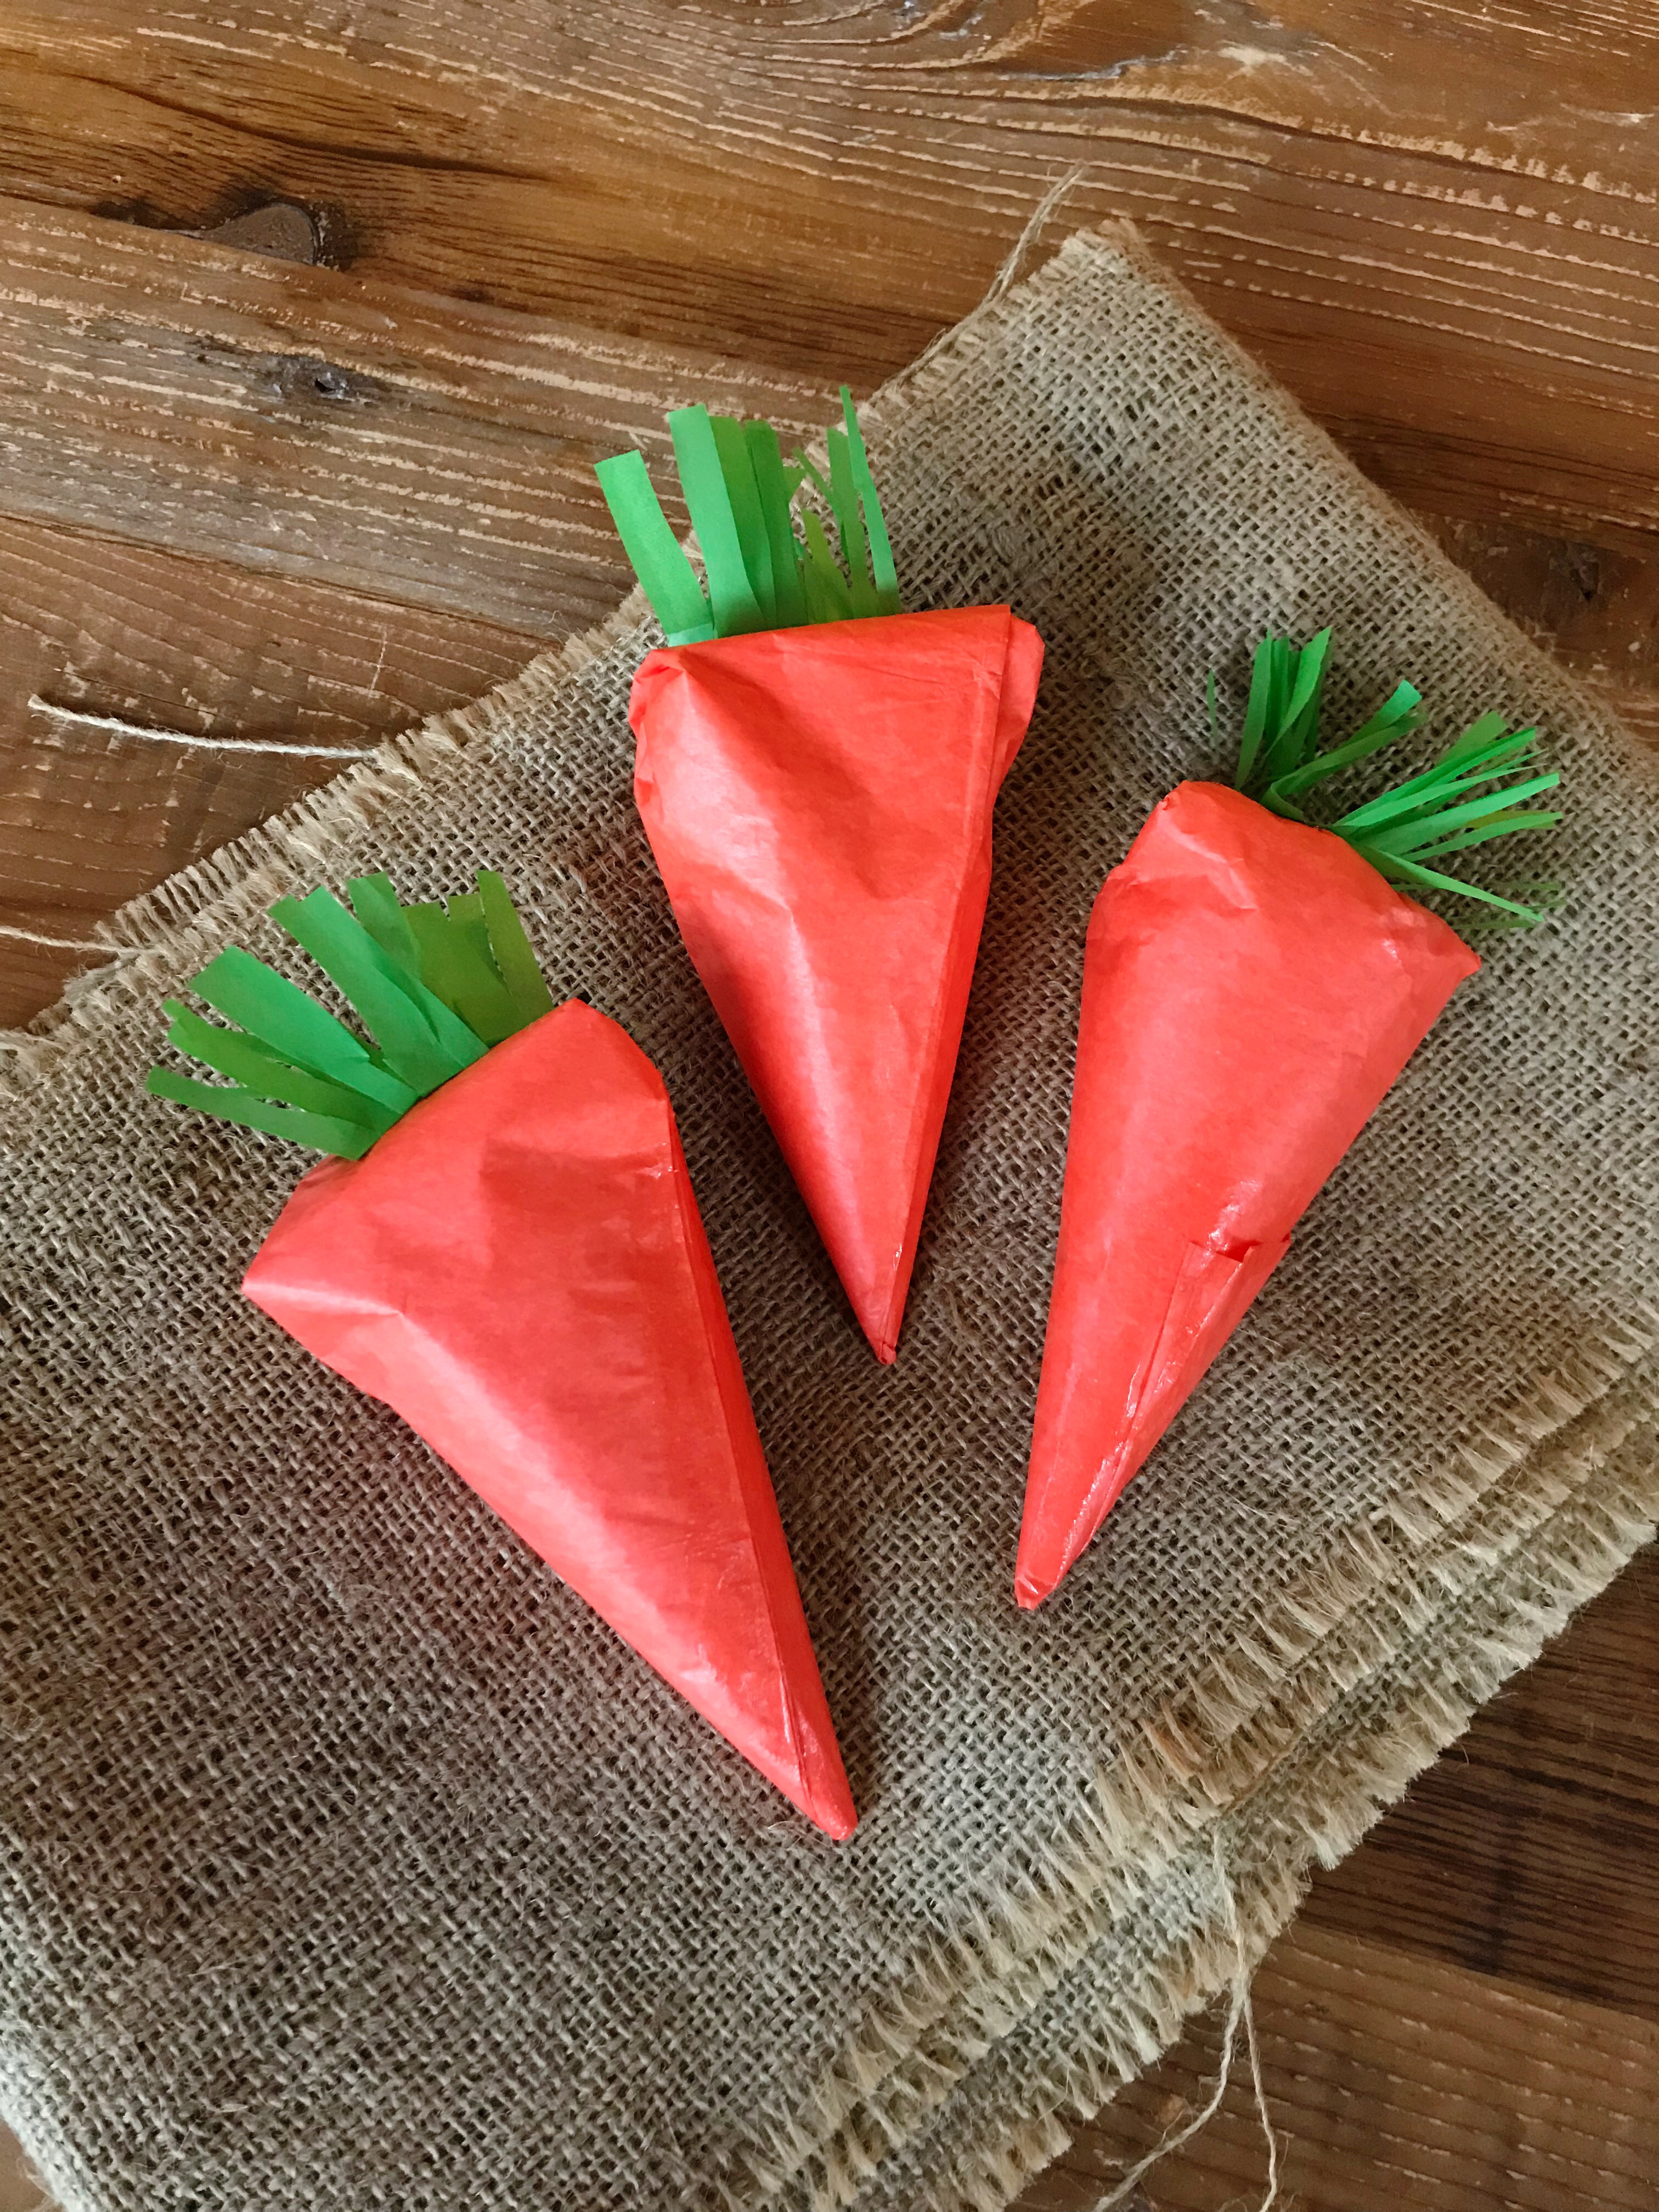
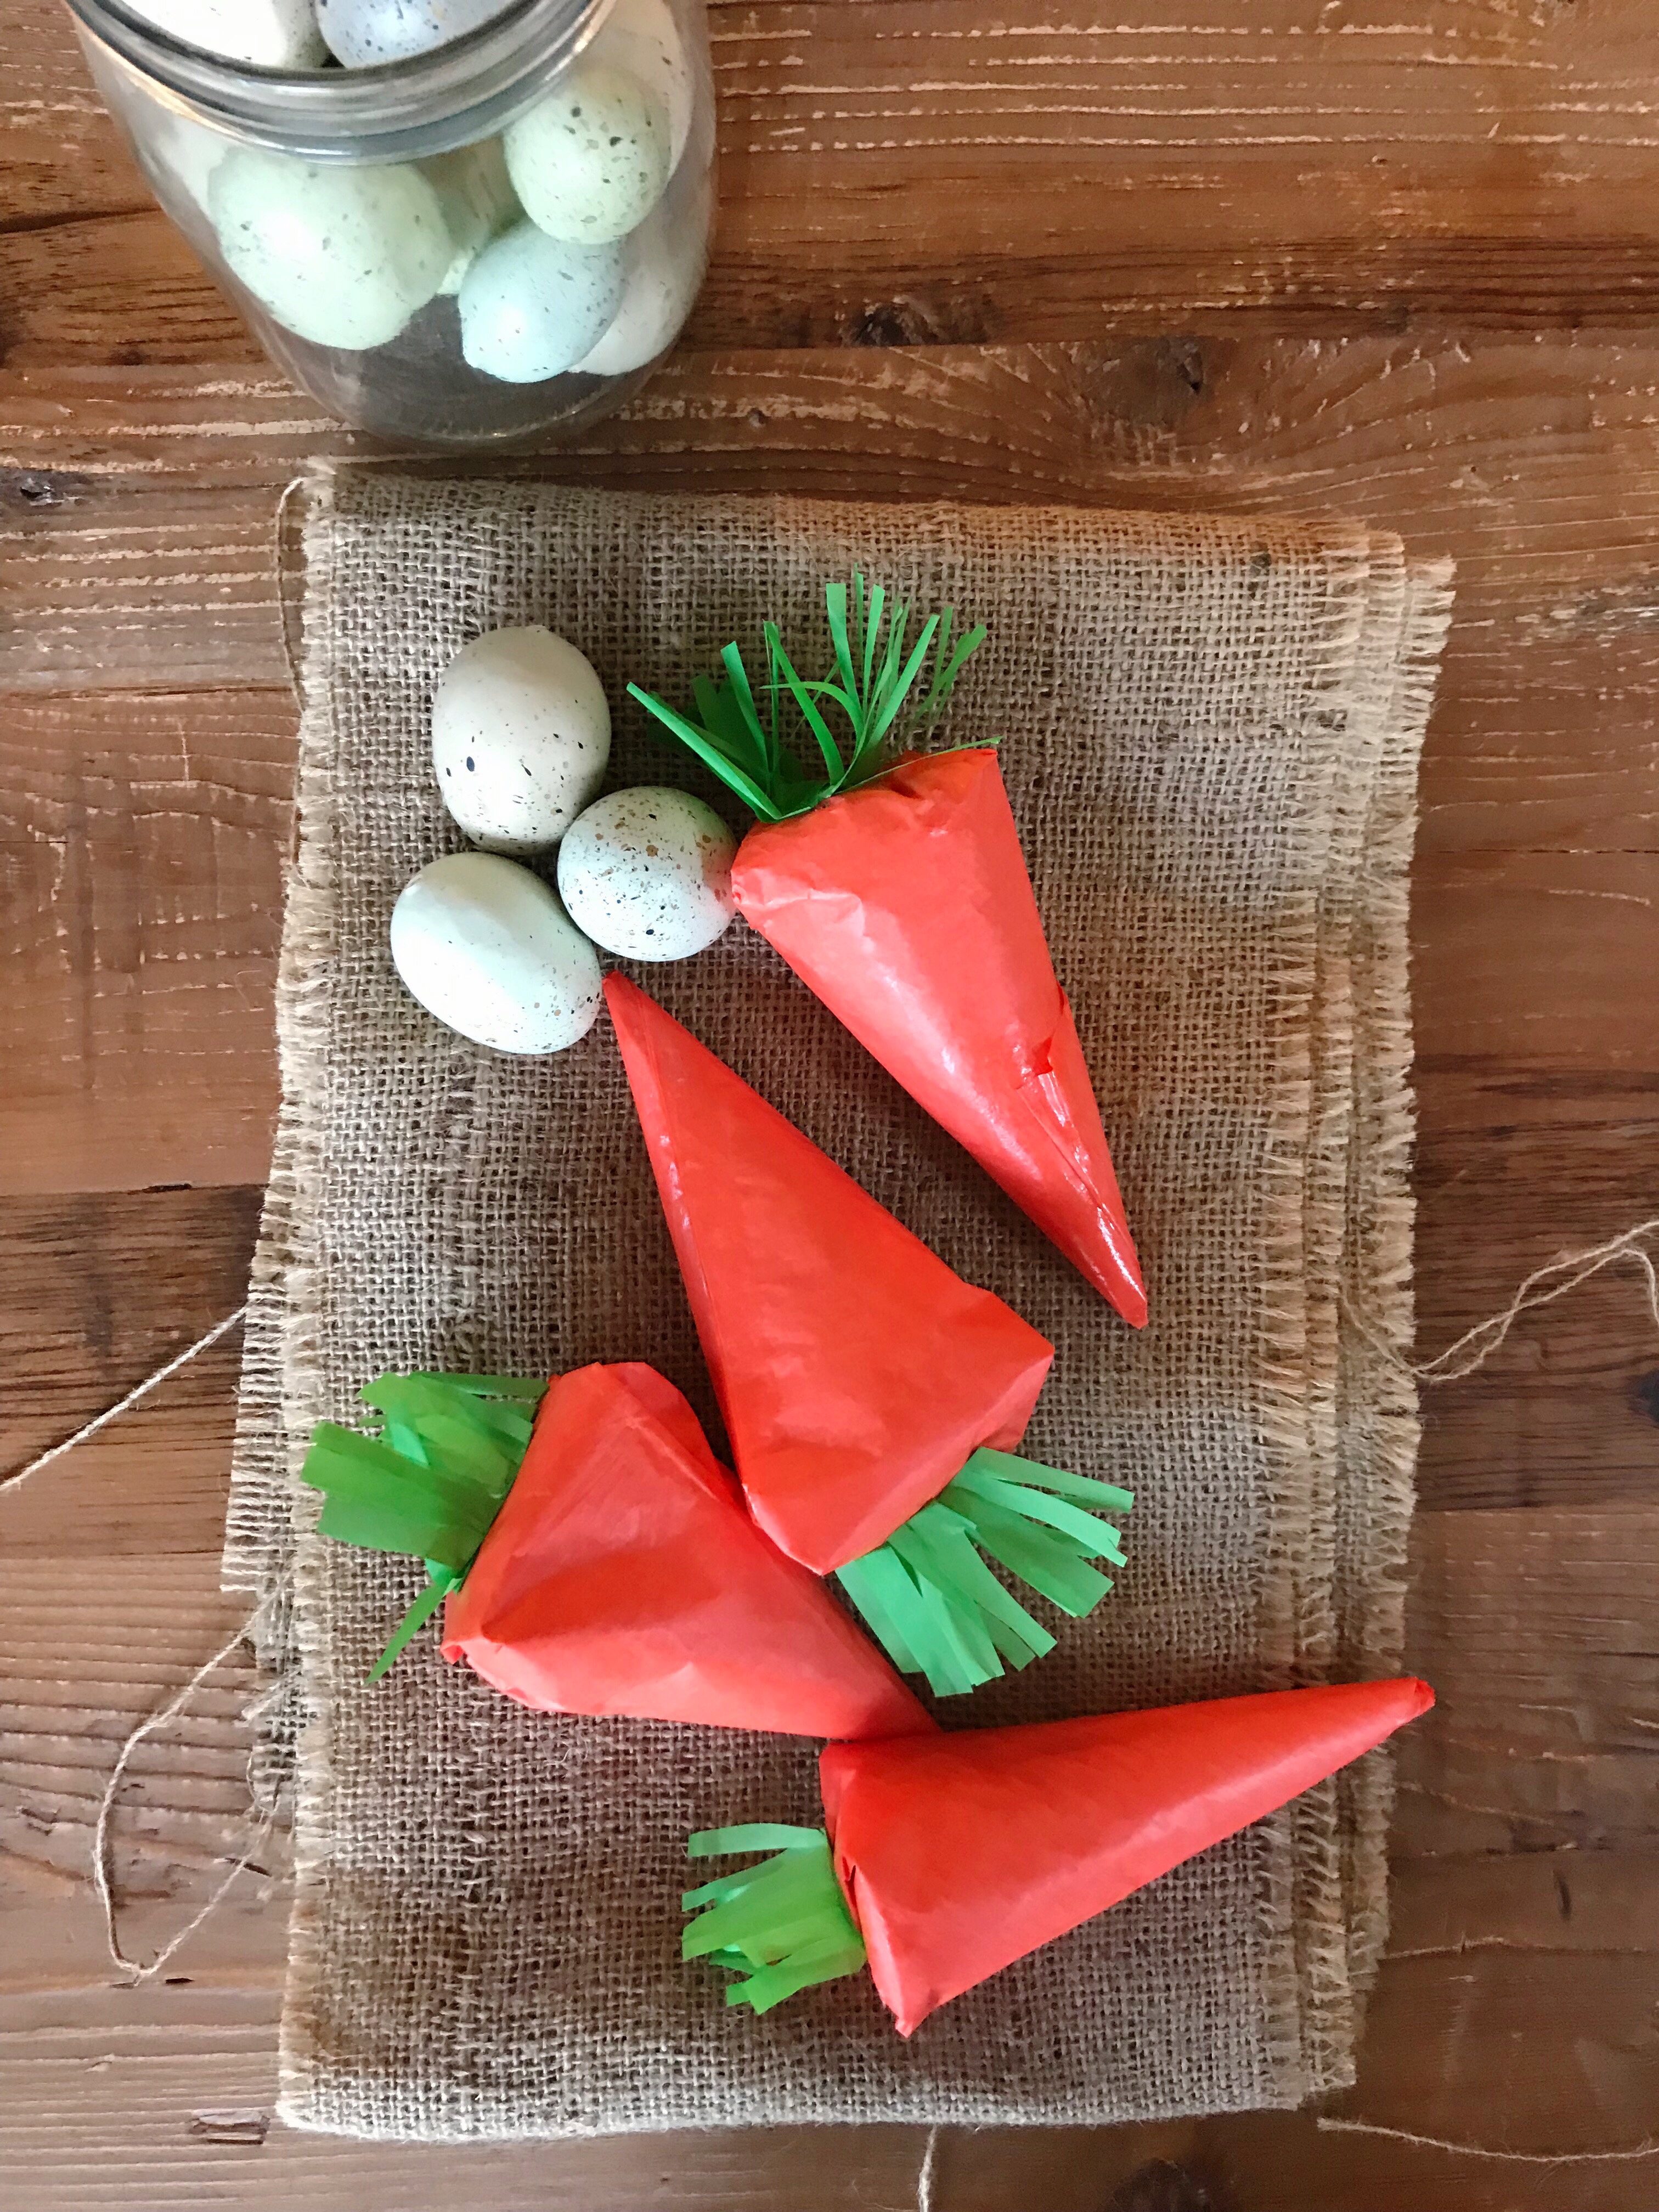
Are your kids as obsessed with surprise toys as mine? That is all they want anymore. From LOL dolls to Lego character surprise packages and everything in between, my kids are in love. So this Easter, I decided to do a little play on these products and created Surprise Carrots! They are little carrot shaped packages filled with small toys and candy that my kids will get a kick out of unwrapping.
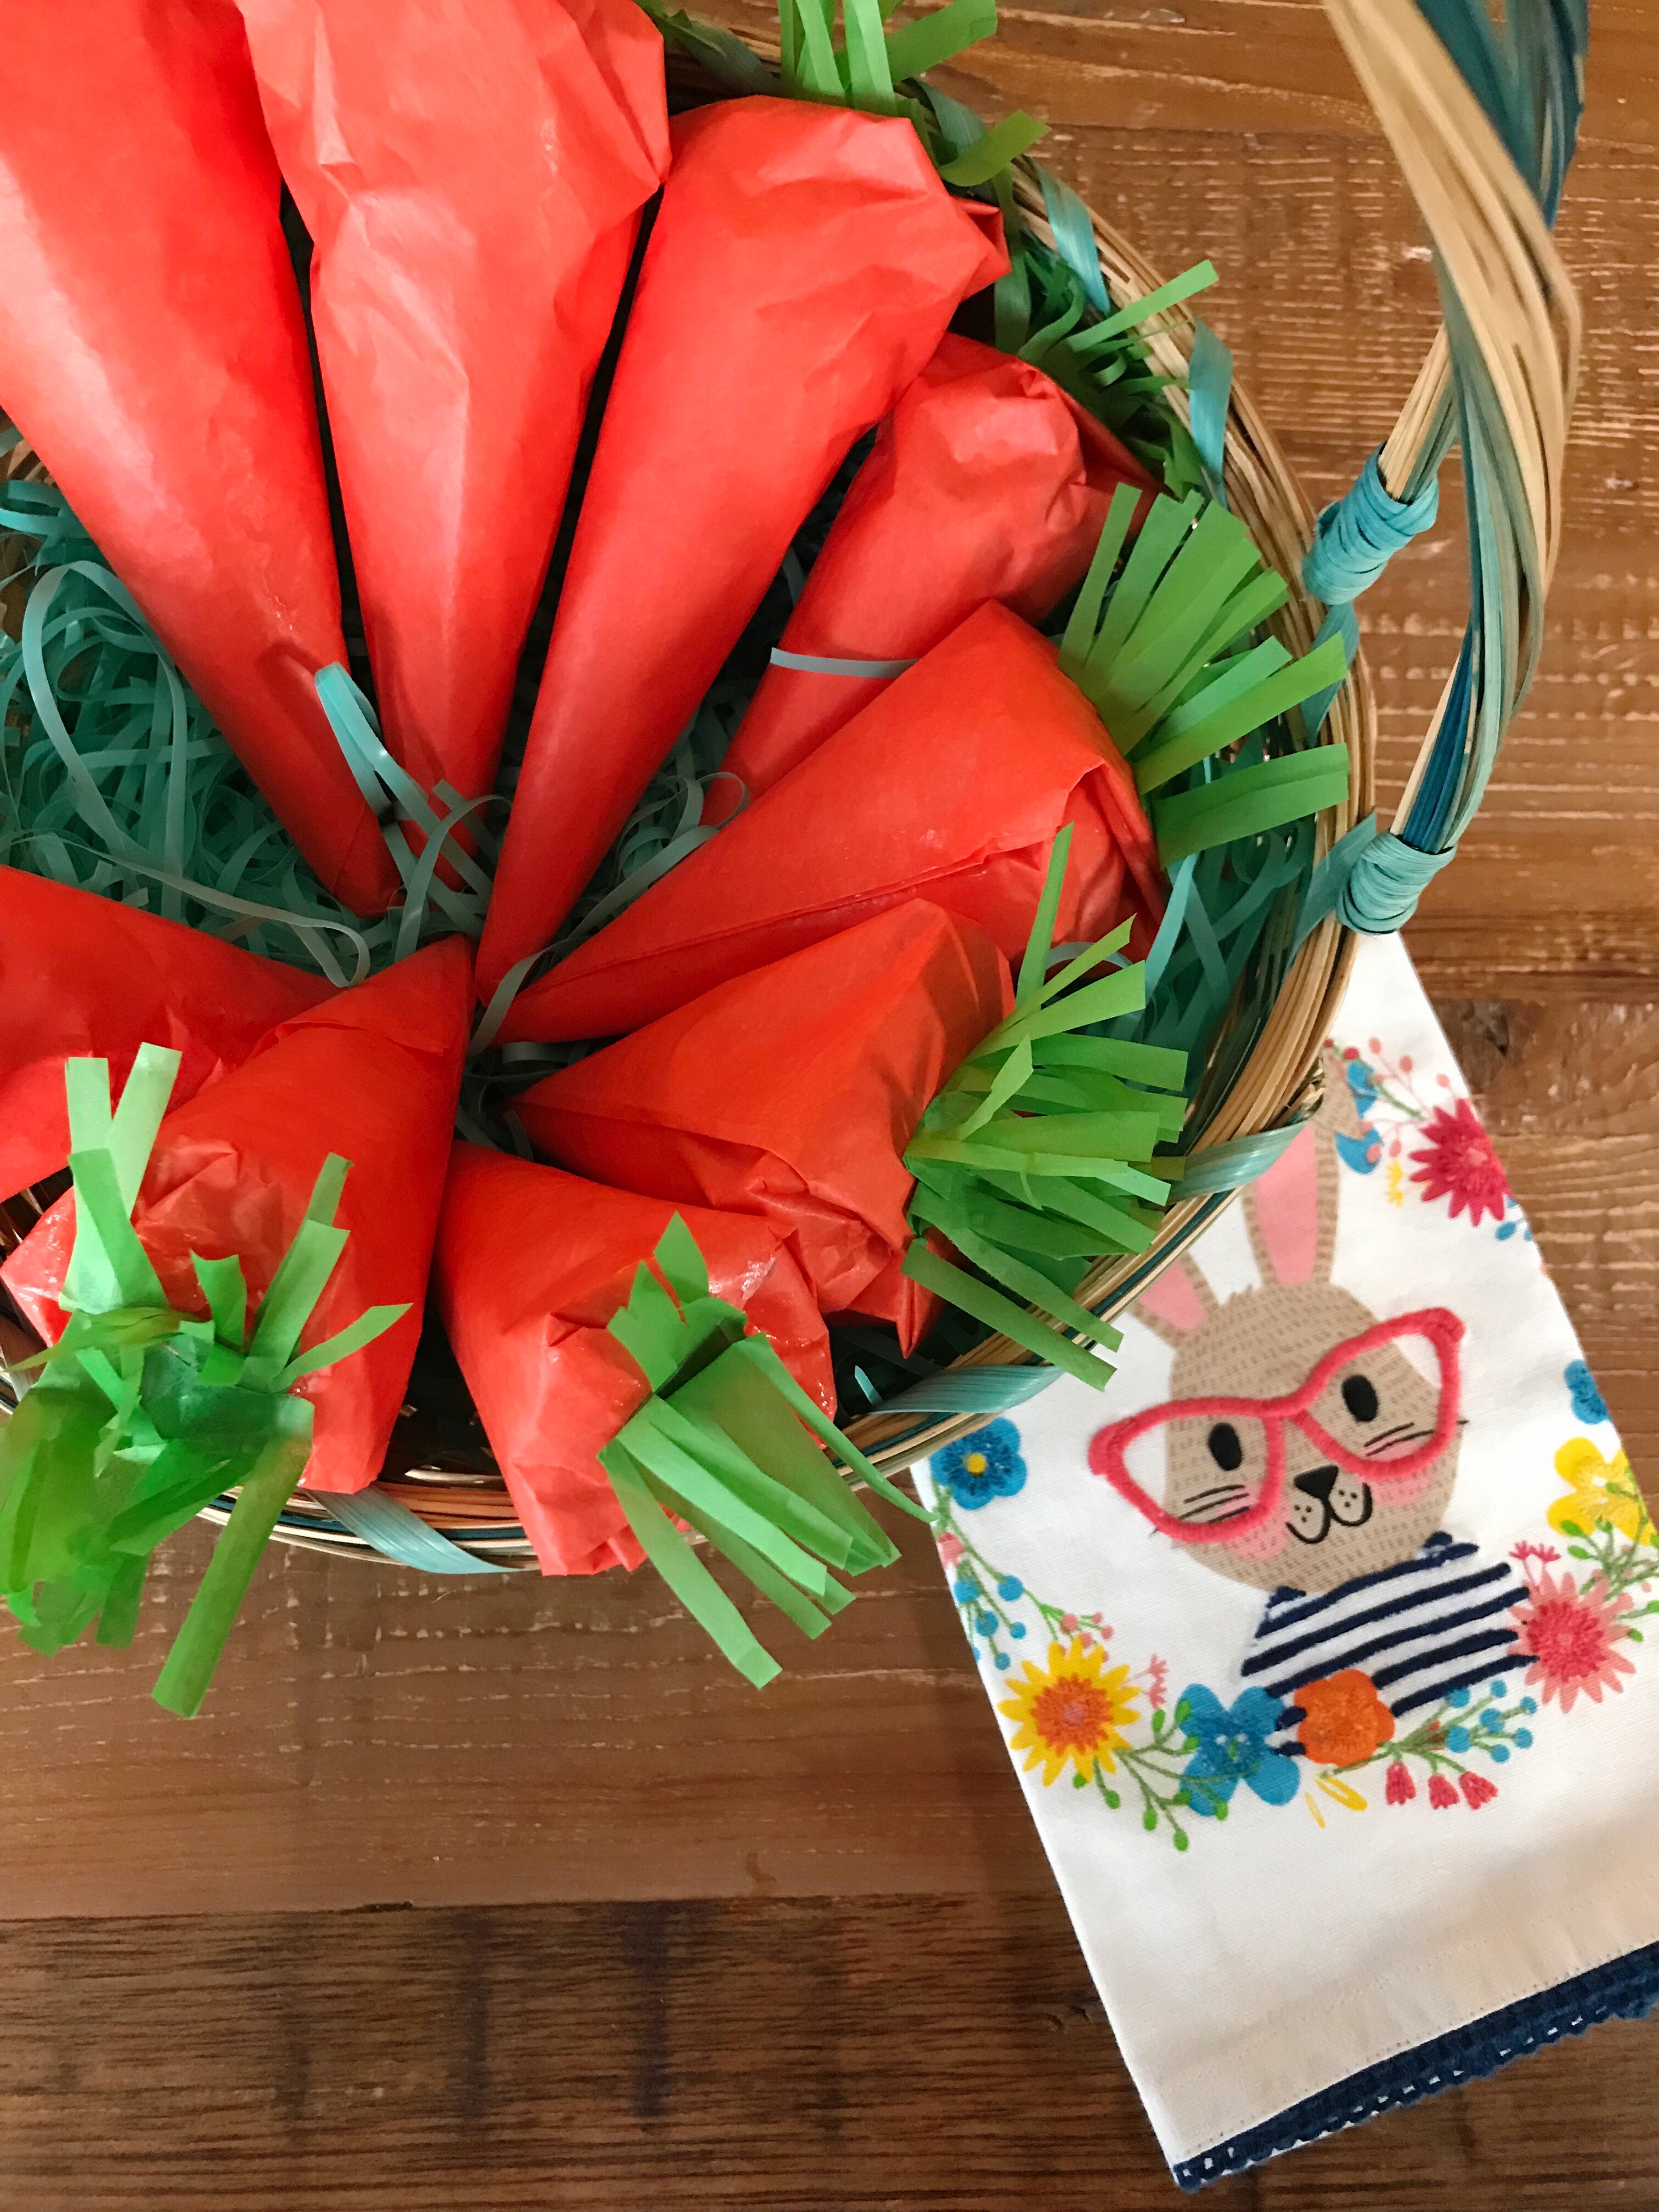
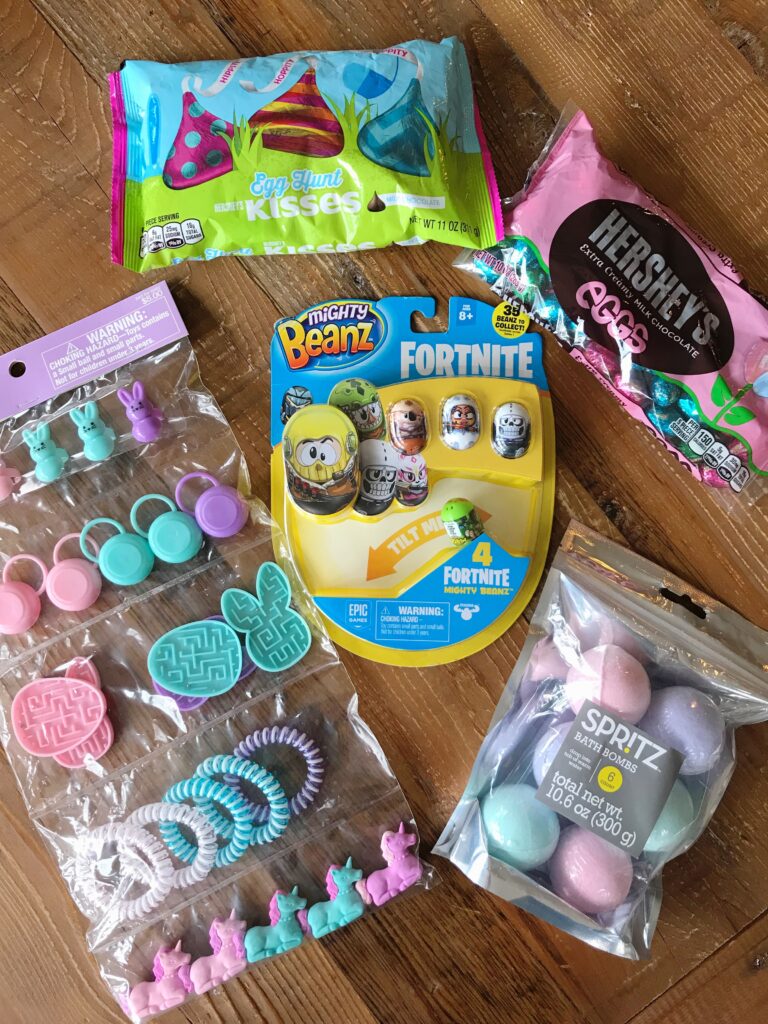
Surprise Carrots are such an easy DIY and way more cost effective than the surprise toys on the market. Personalize them with goodies your kids love and they will definitely be a hit! (Toys, coins, jokes, stickers, and candy would all be perfect for this).
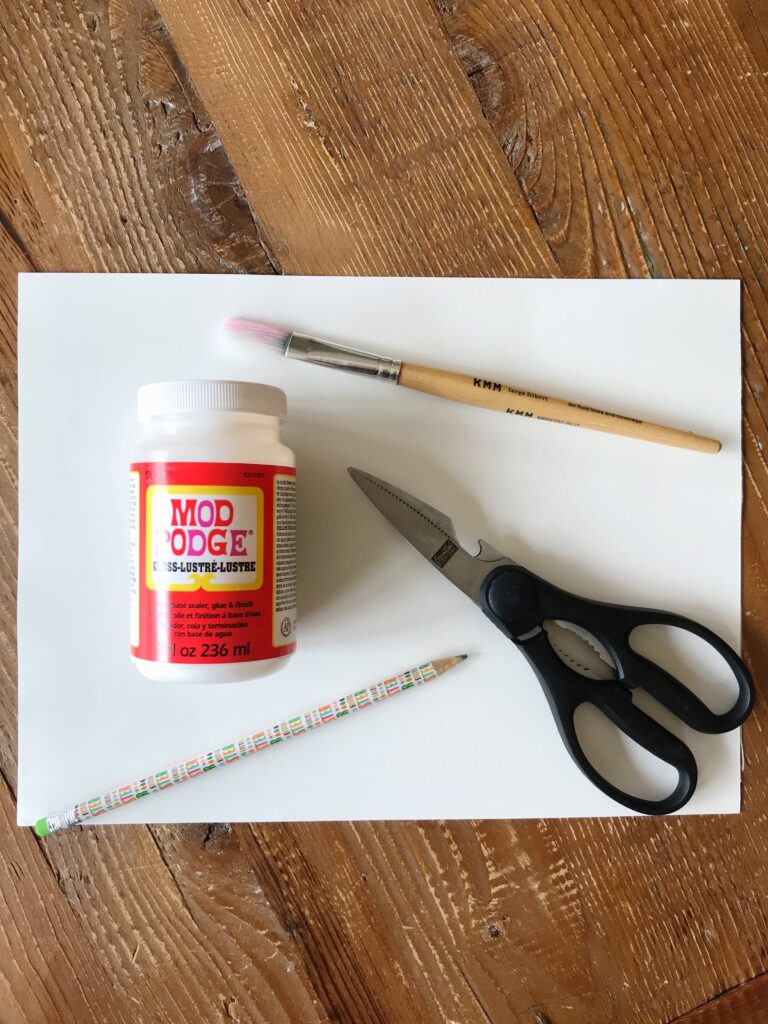
Materials Needed to Make 8 Surprise Carrots:
- 1 piece of green tissue paper
- 8 pieces of orange tissue paper
- 2 pieces of construction paper or cardstock
- tape
- soup bowl
- pencil
- scissors
- Mod Podge or glue (optional)
- paintbrush (if using mod podge)
- small gifts (toys, coins, jokes, stickers, candy, etc.)
Step 1: Place a soup bowl on a corner of the construction paper and trace as shown. Do the same with the other three corners and to the other piece of paper.
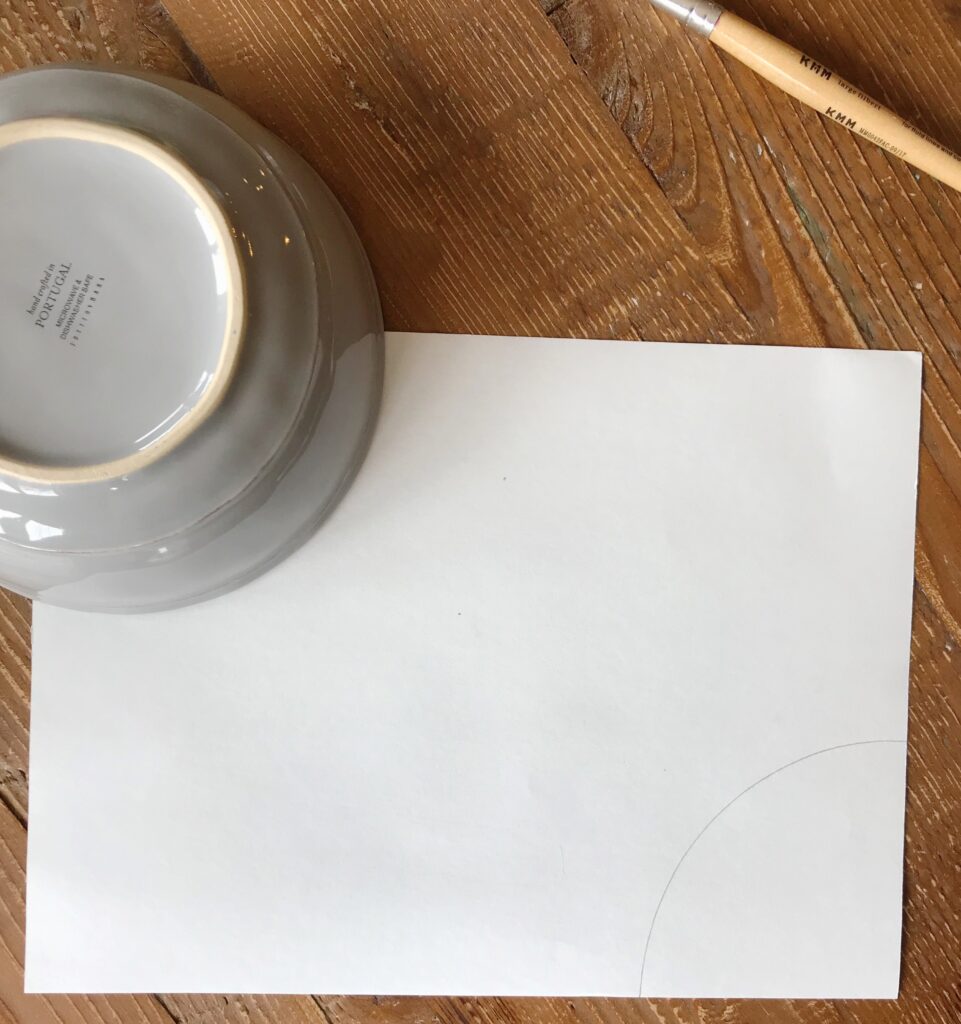
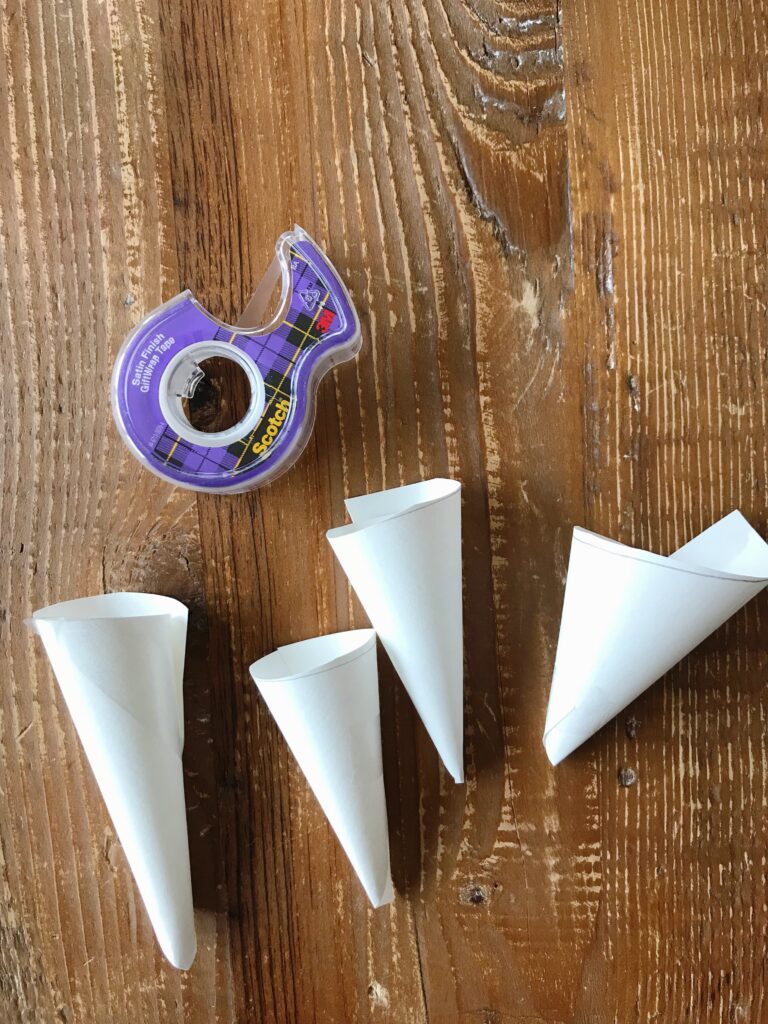
Step 2: Cut out the shapes and roll them to form cones. Secure the rolls using a piece of tape.
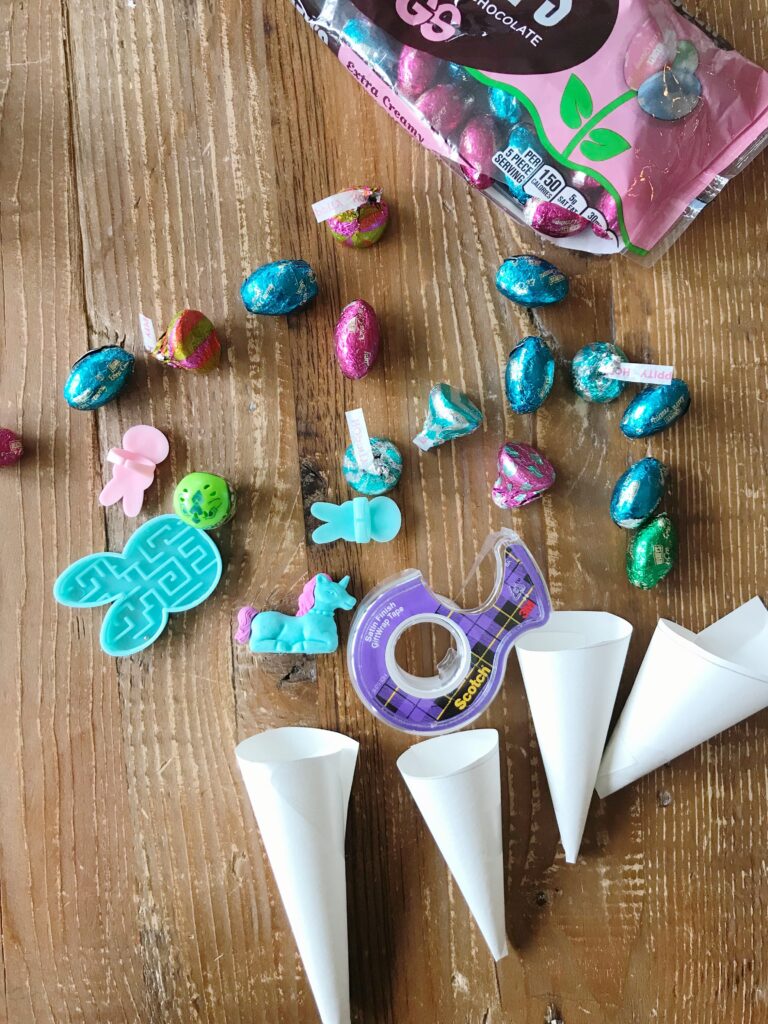
Step 3: Fill the cones with some of the items.
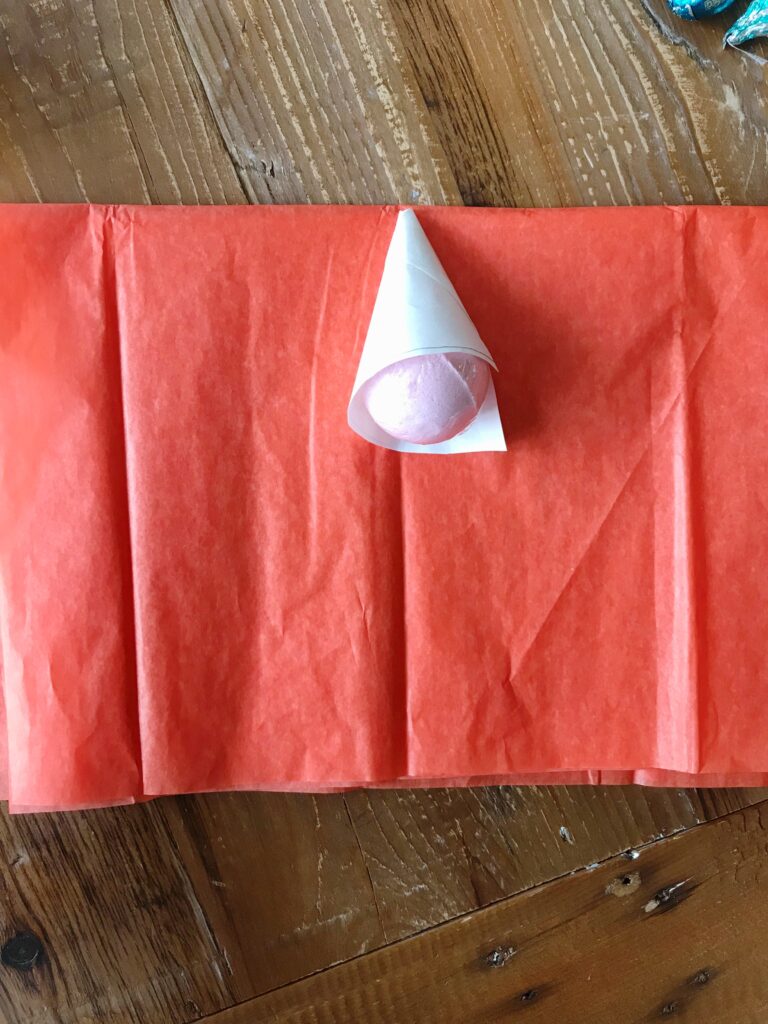
Step 4: Take a sheet of orange construction paper and fold it in half and then in half again. Place the tip of a cone on the folded seam and wrap the paper around the cone to cover. Then, secure fold with Mod Podge, glue or tape. (I used Mod Podge as I had it handy and it dries clear.)
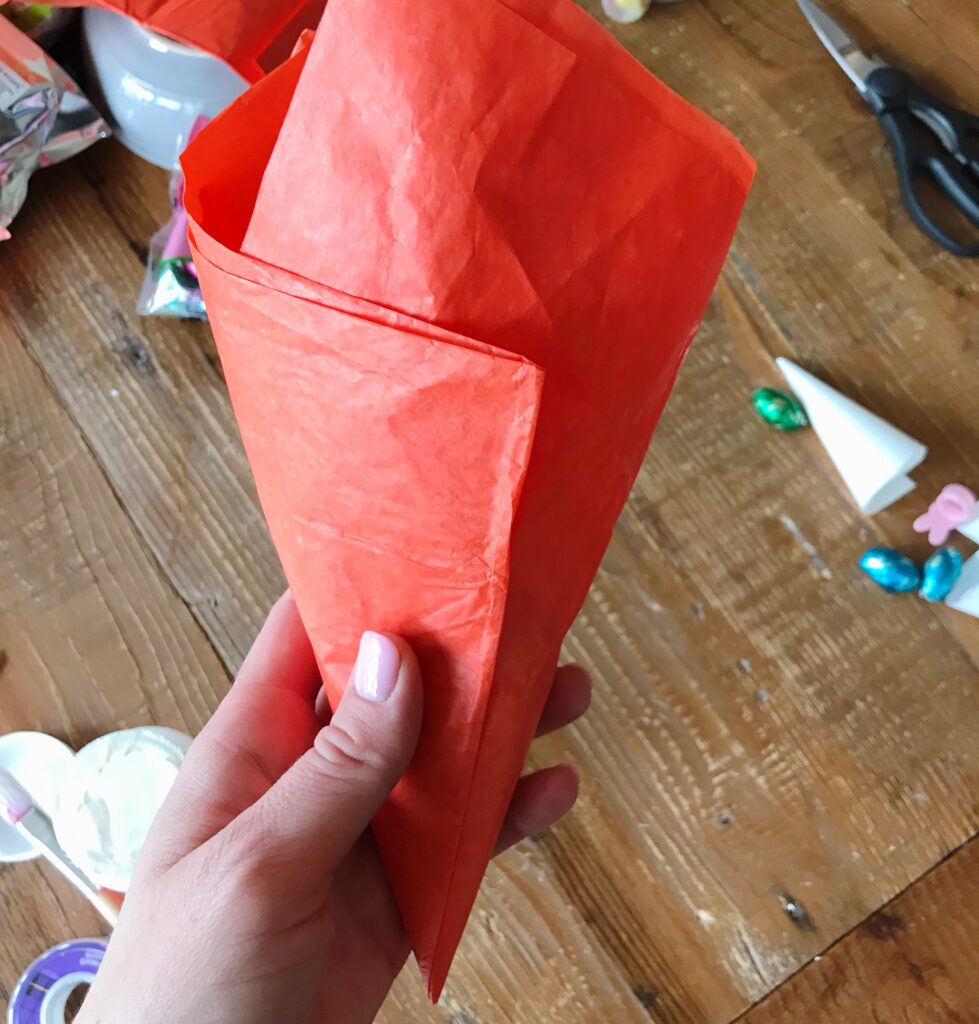
Step 5: About 1 inch past the top of the cone, cut off the excess tissue paper.
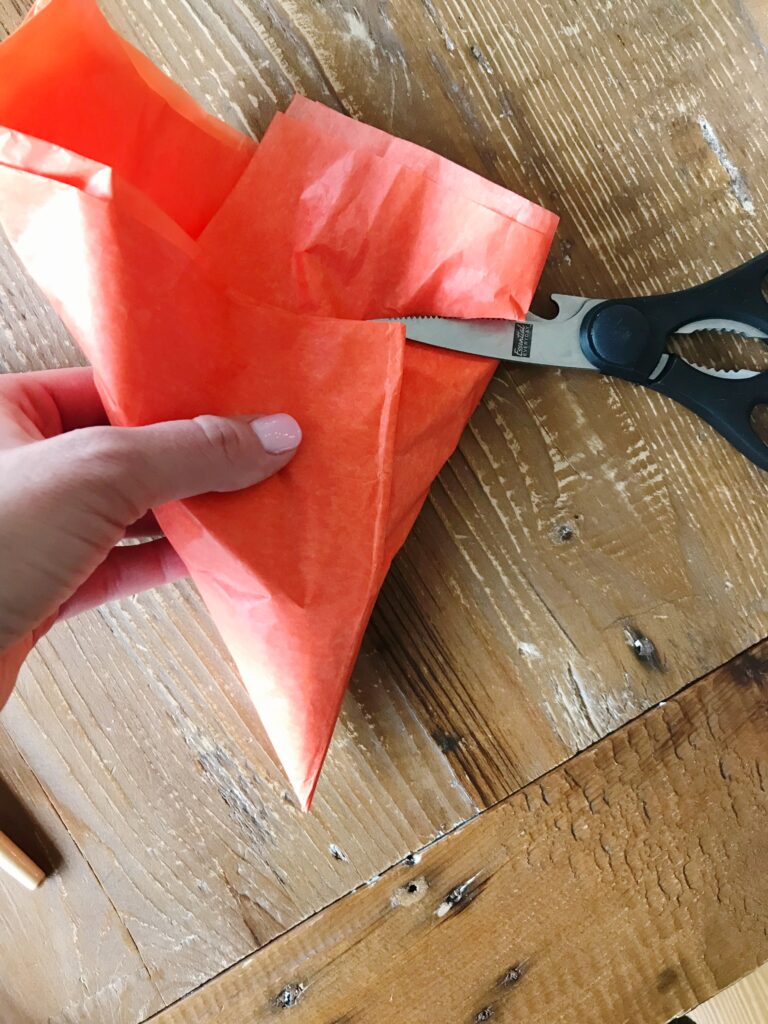
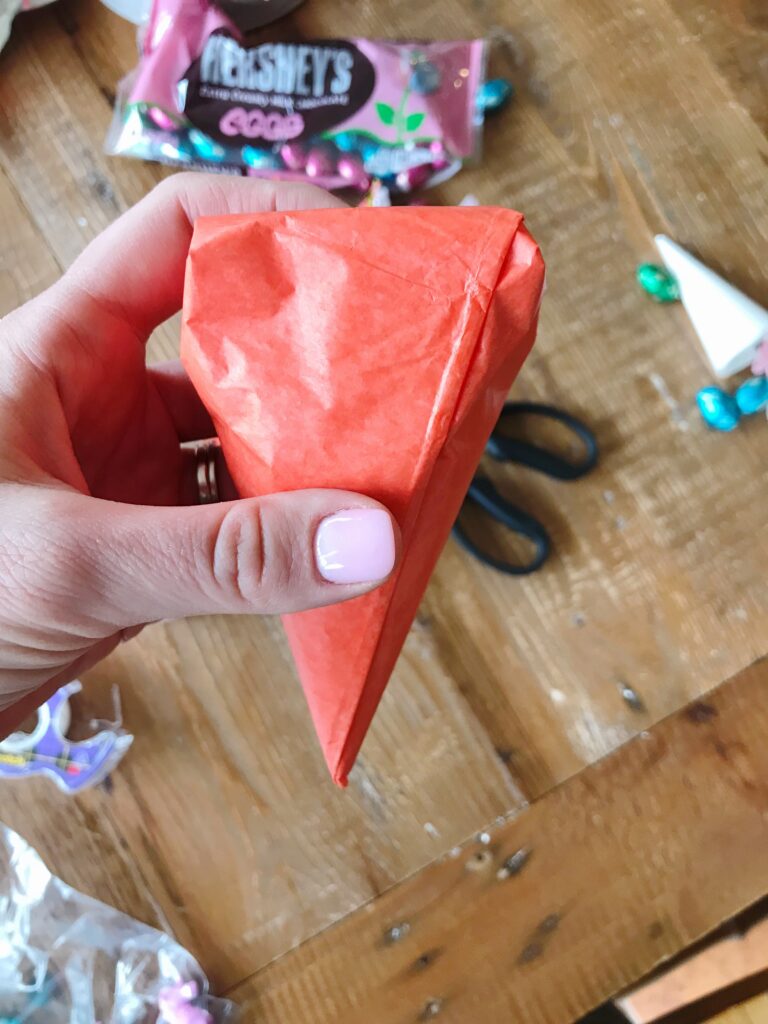
Step 6: Fold the tissue paper at the top to cover the opening of the cone and again secure with Mod Podge, glue or tape. (If using Mod Podge or glue, allow to dry before moving on. I placed mine top side down to dry to ensure the top fold stayed closed.)
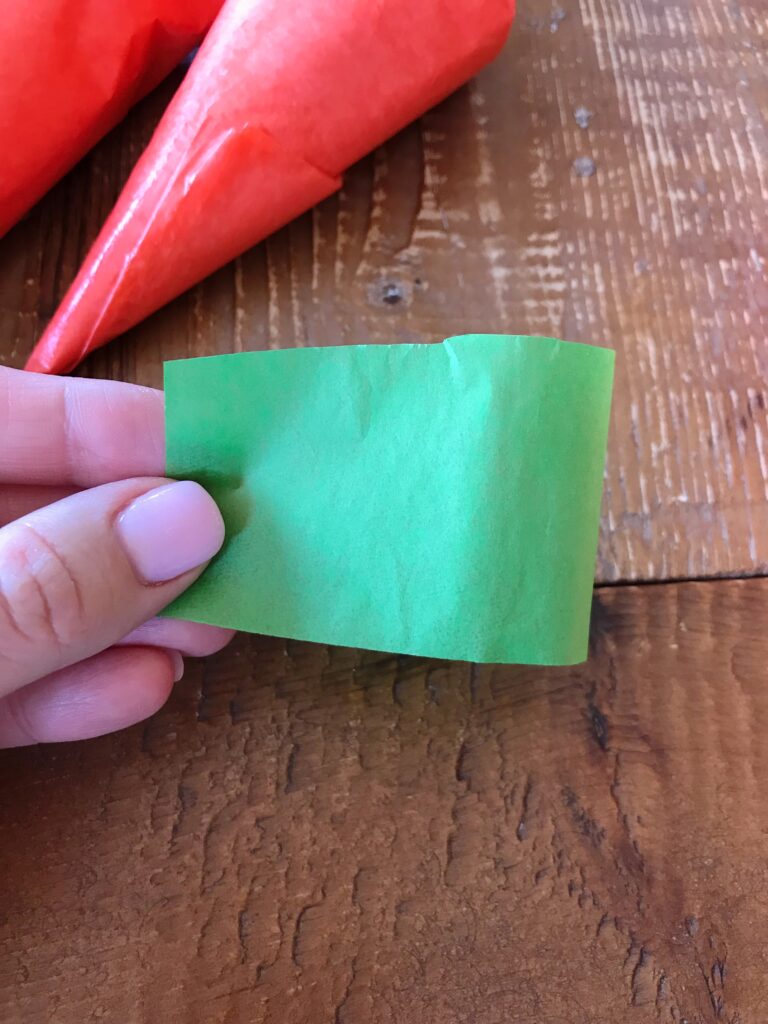
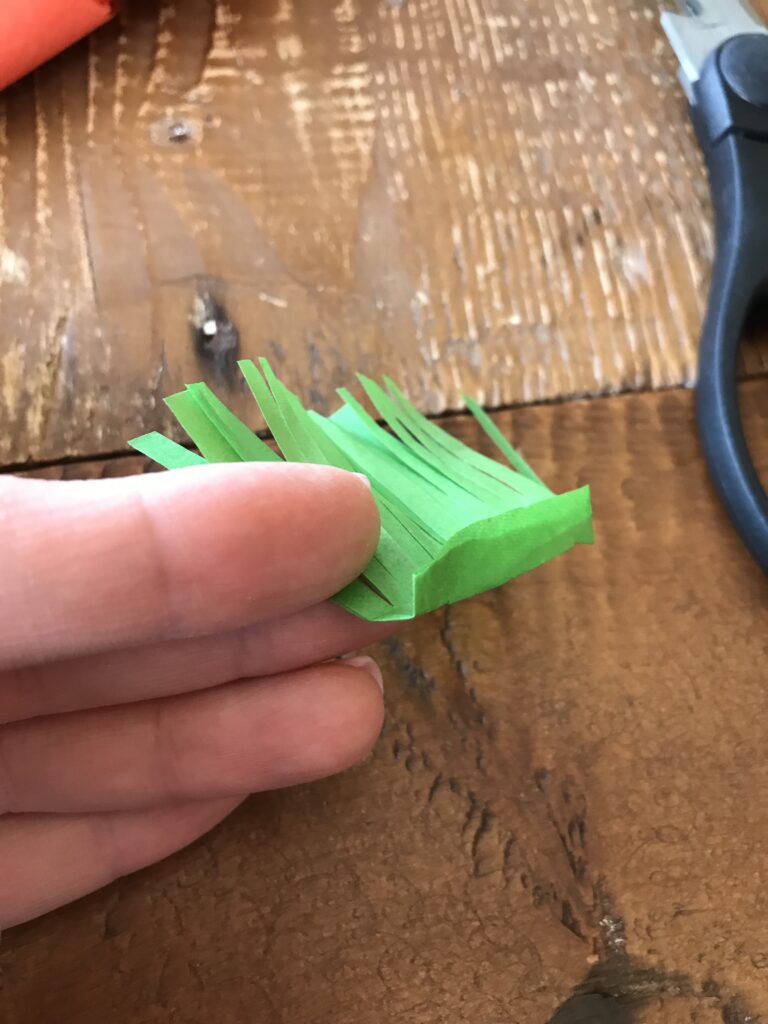
Step 7: Cut a roughly 2-3 inch rectangle out of the green tissue paper and cut slits all along one of the long sides about 3/4 of the way across.
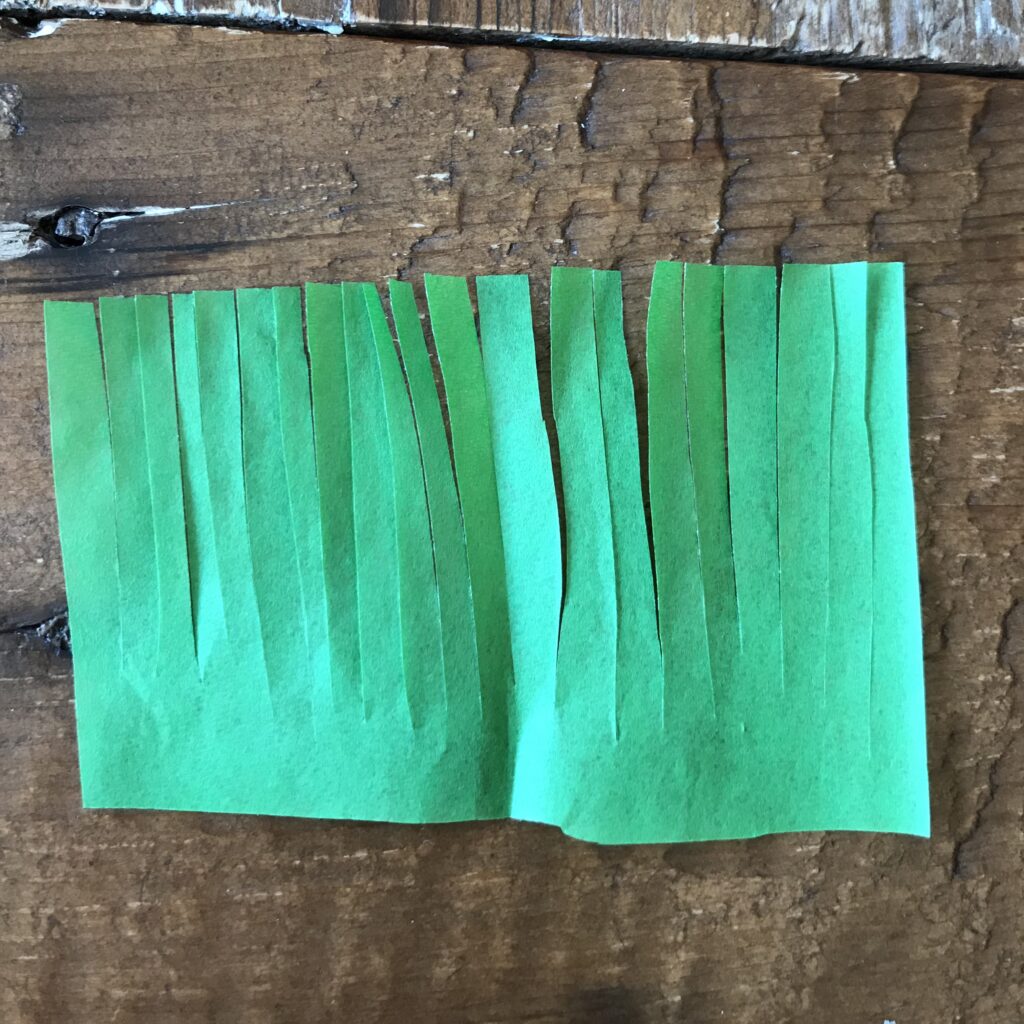
Step 8: Fold the rectangle in half, gluing the fold and then adhere it to the top of the carrot. Starting at step 4, repeat for the remaining cones.
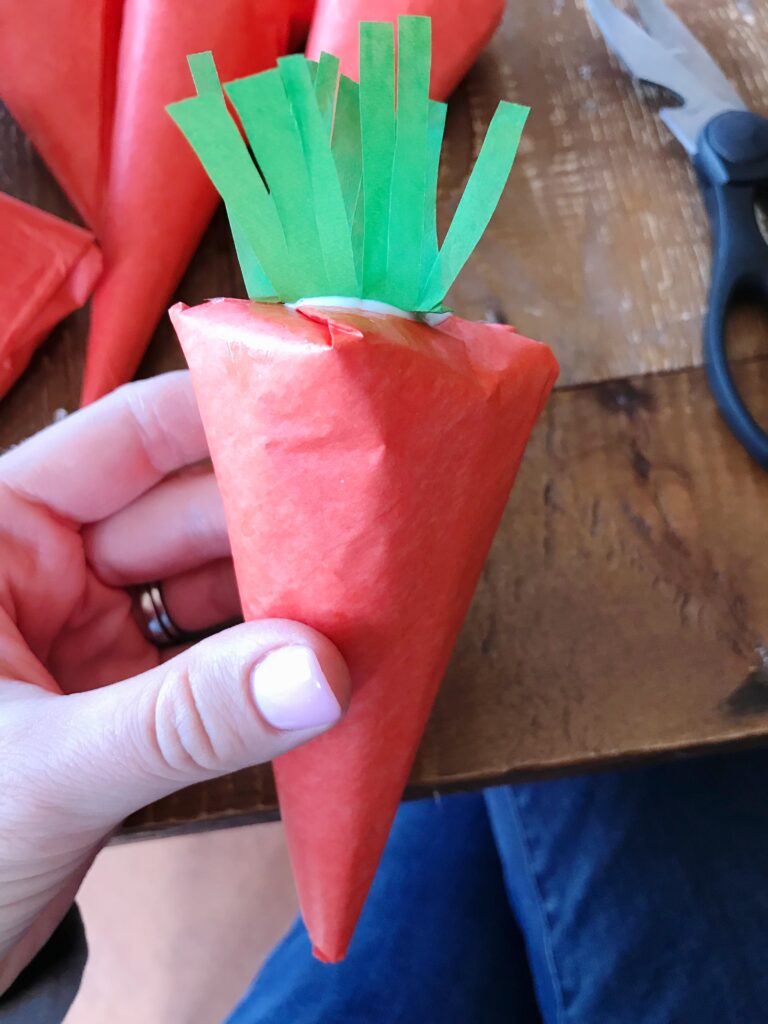
That’s it! Don’t stress about making them perfect. You can place these in your kids’ Easter baskets or even hide them outside for a hunt!
Happy Crafting,
-Brittany
