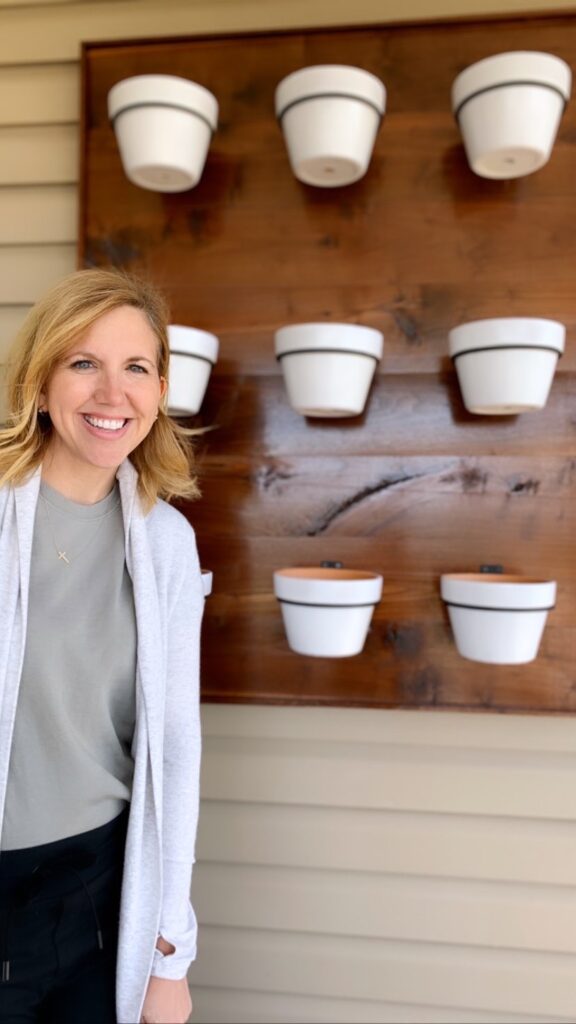
If you are looking for a fun do-it-yourself project, look no further than this easy outdoor succulent wall! ?
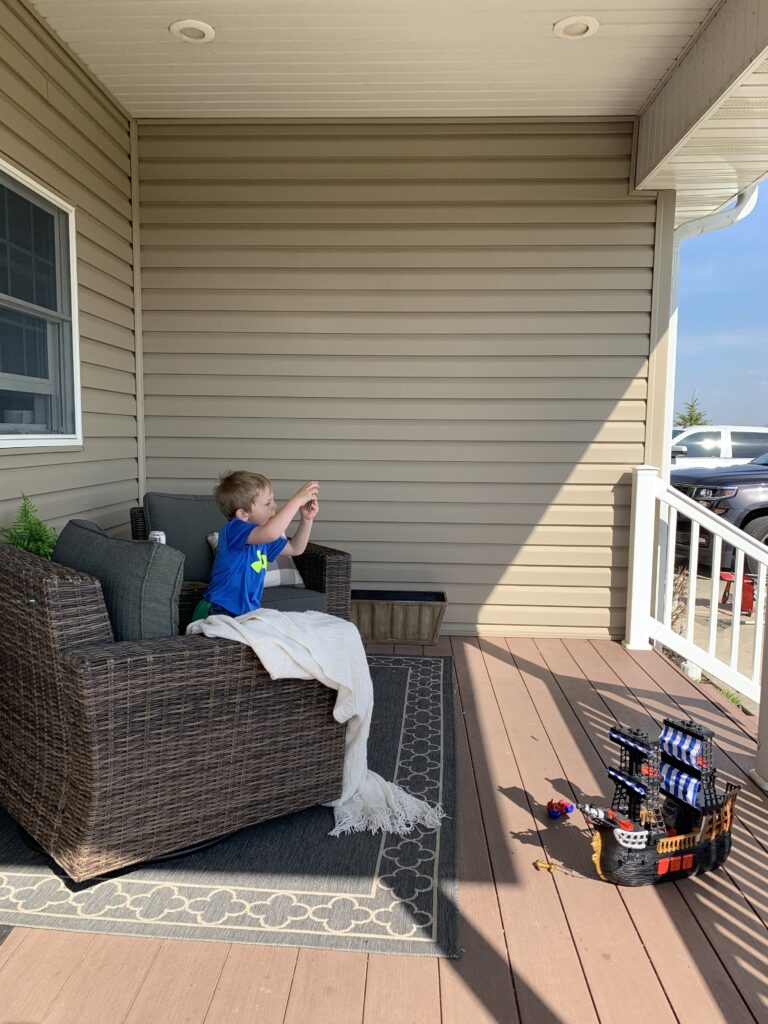
Last fall I realized that we did not utilize some space on the porch off of our kitchen. It had a yucky old table on it, and felt dingy and boring. I decided it was time to make it more functional and fun!
We added these wicker chairs and a Target bench (along opposite wall) and things started looking up. As I was sitting on the bench one day towards the beginning of quarantine, I realized there was a large wall space where I could hang something big. But what would it be?!
After a few quick texts to Callie and a search of Our Faux Farmhouse, I decided a succulent wall would be perfect for this space!
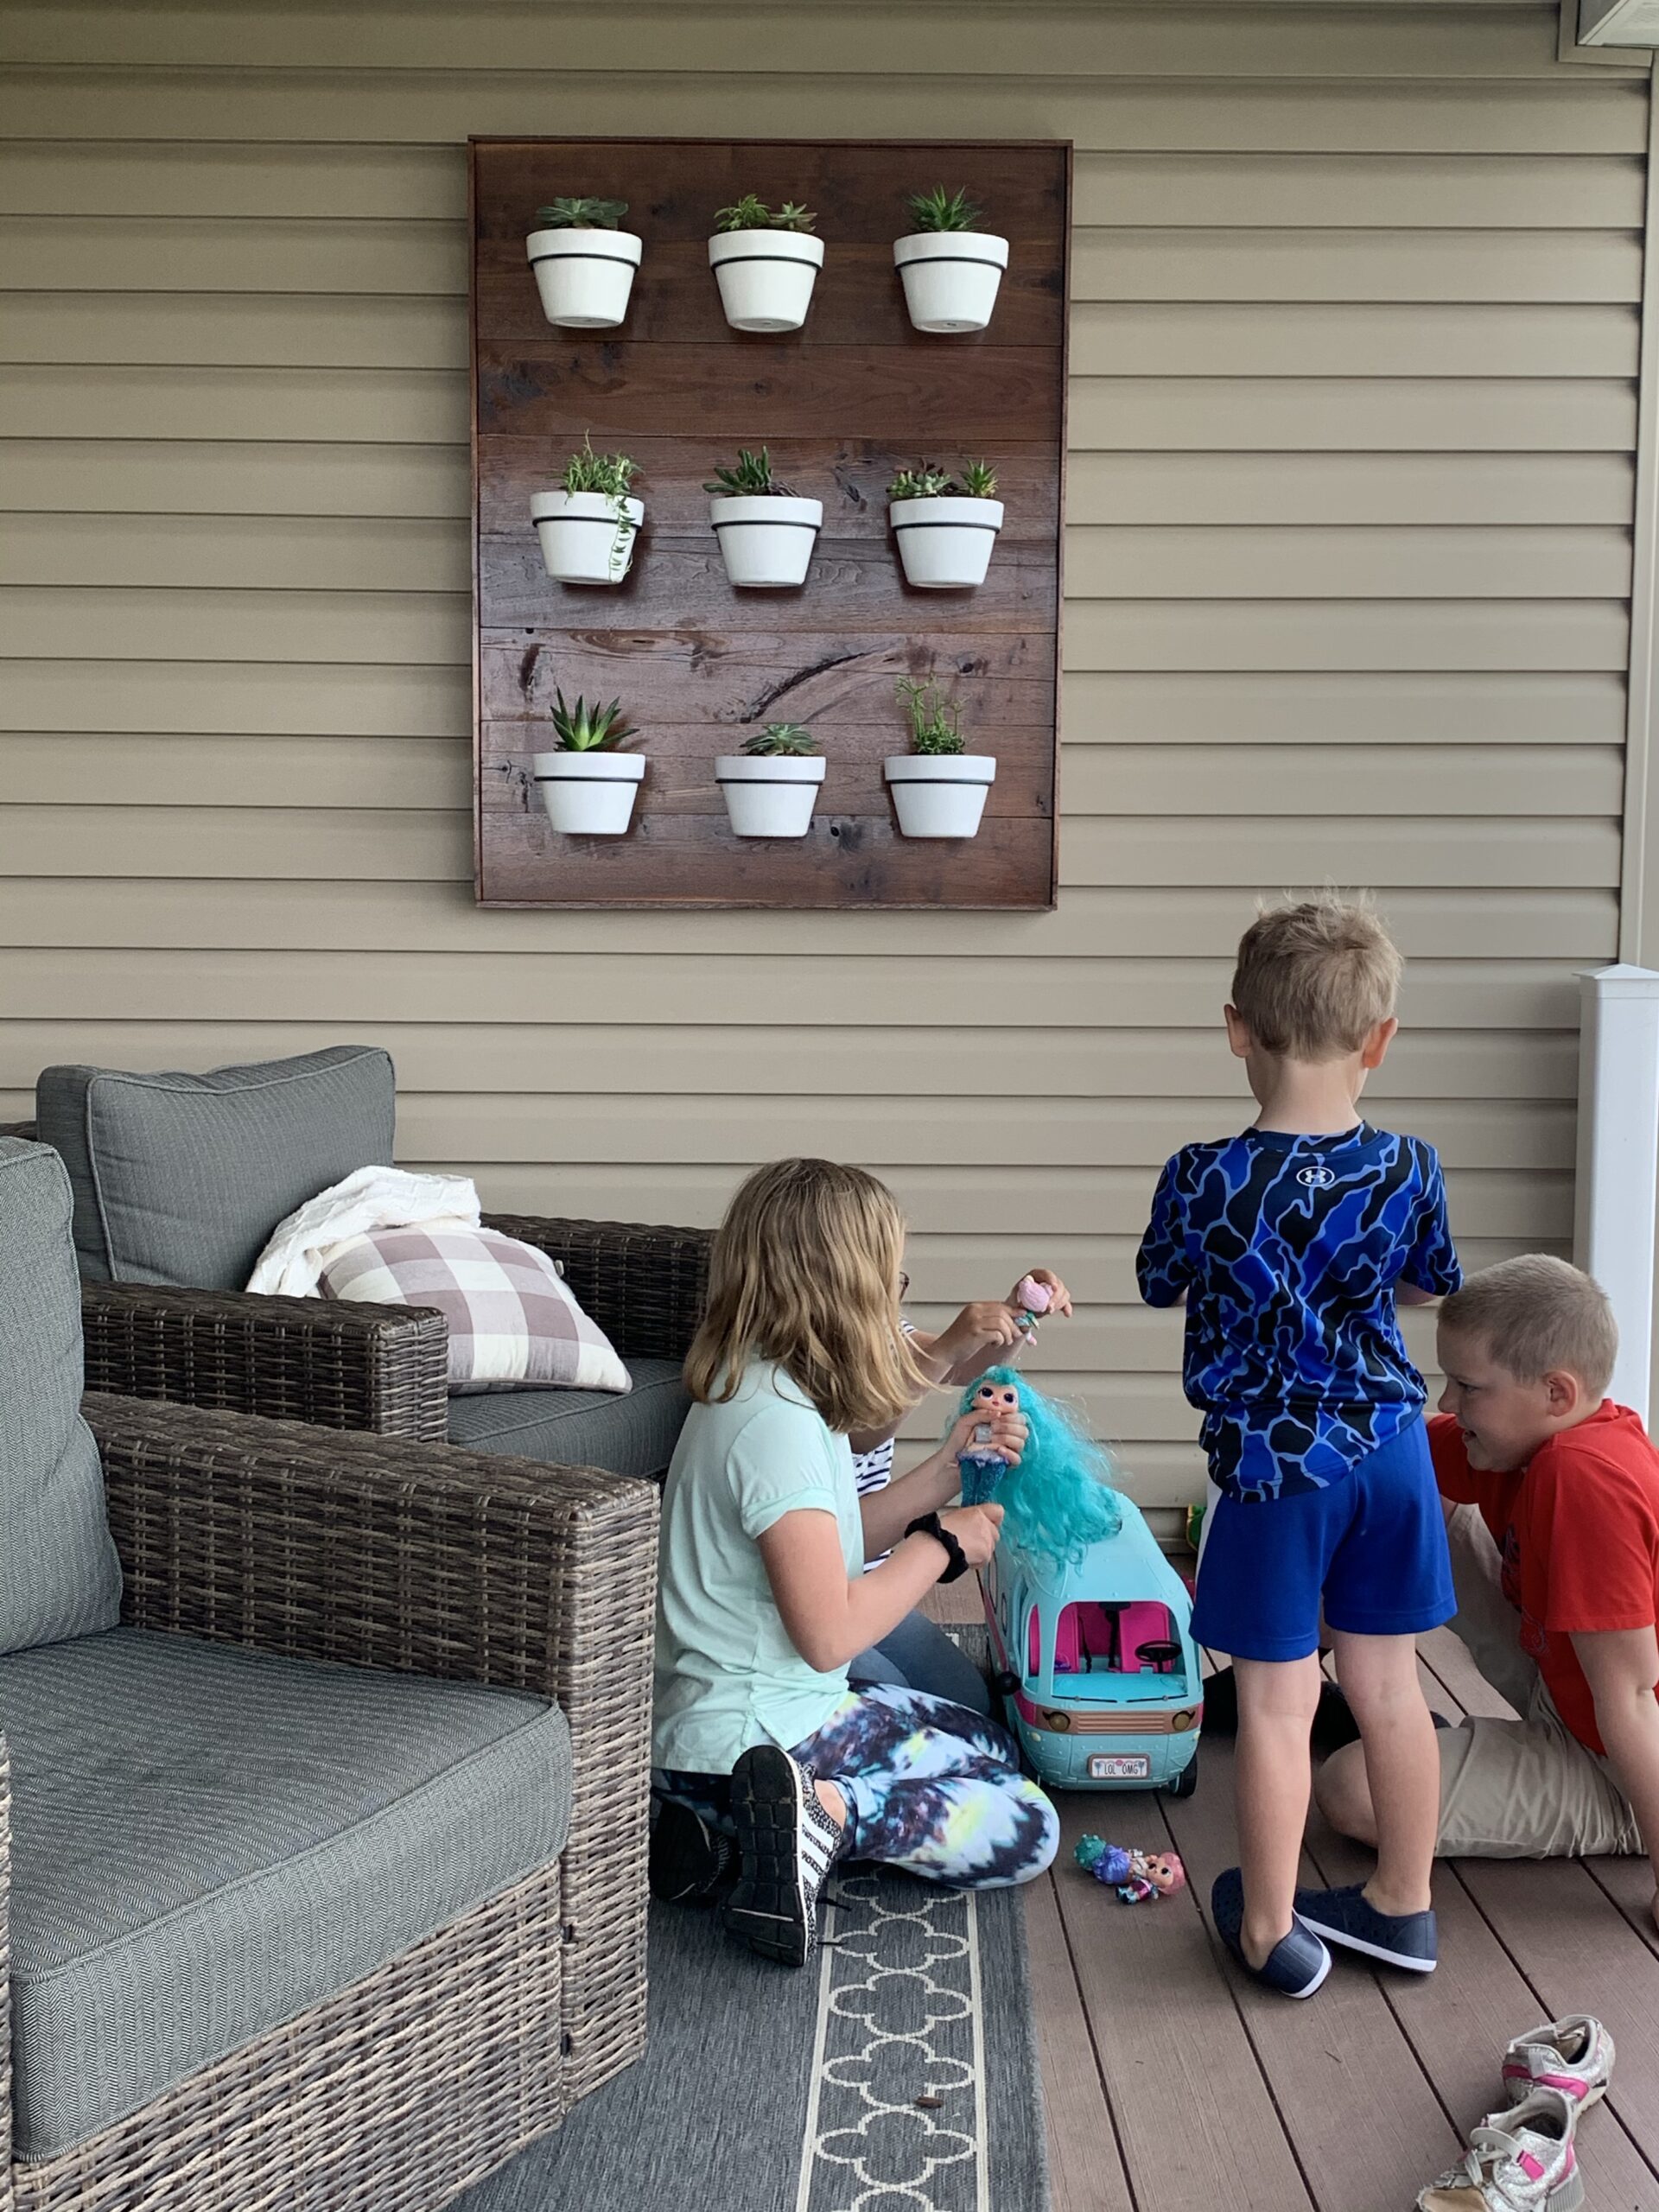
This little area of the porch is so cozy now! The kids are spending more time reading and water color painting on the porch and my husband and I are finding it perfect for discussing our day over a drink. Here is how easy it is to make:
Wall Construction
Once I decided on the wall, I called my builder (aka husband) and gave him the plans! He already had some reclaimed black walnut leftover from another project and so he got to work on the measurements.

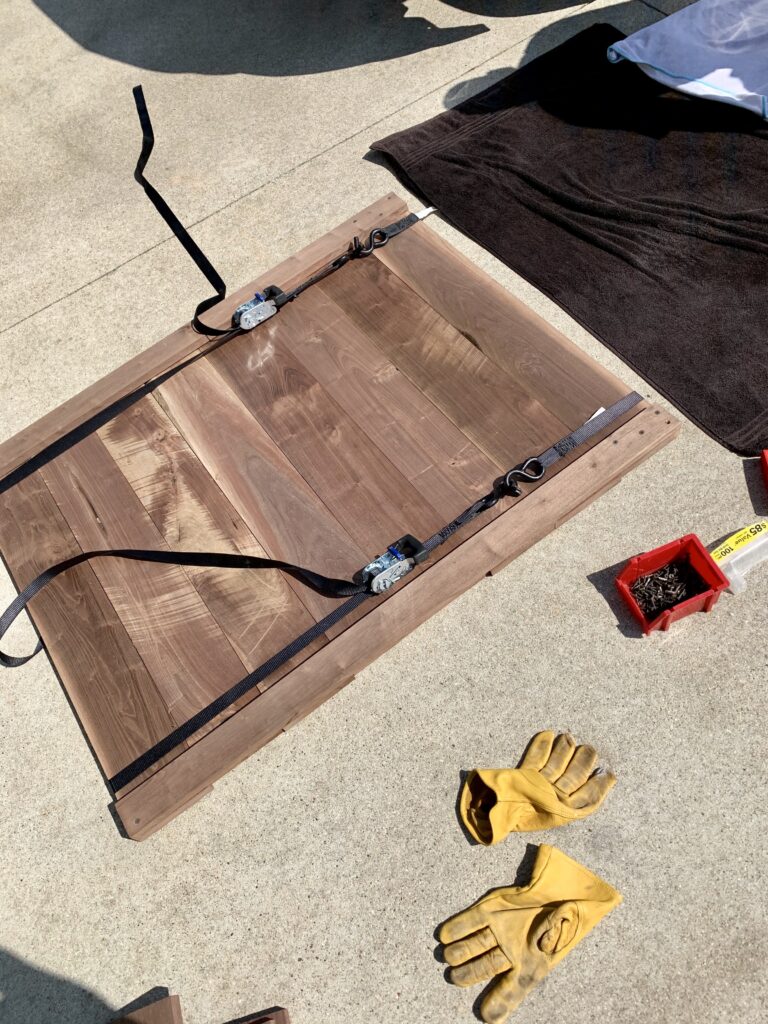
He sanded and attached the boards and then we decided to hang it on the porch wall for a trial run.
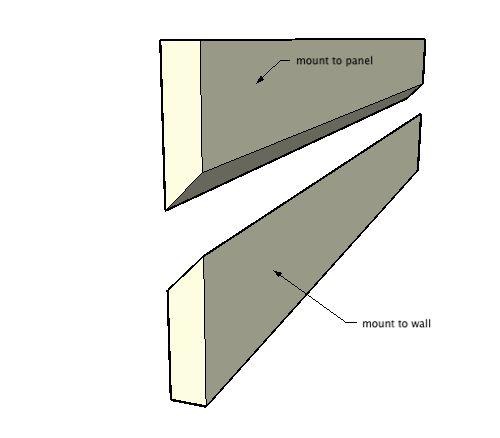
My husband used a French cleat using a 2×6 board to hang our succulent wall. Our wall is very heavy as it is black walnut. It may be lighter if you use a different wood such as pine.
The project required him to cut out a piece of the siding. We do have a few extra pieces of siding in storage if we someday decide we want to move our succulent wall. The French cleat makes it very secure.
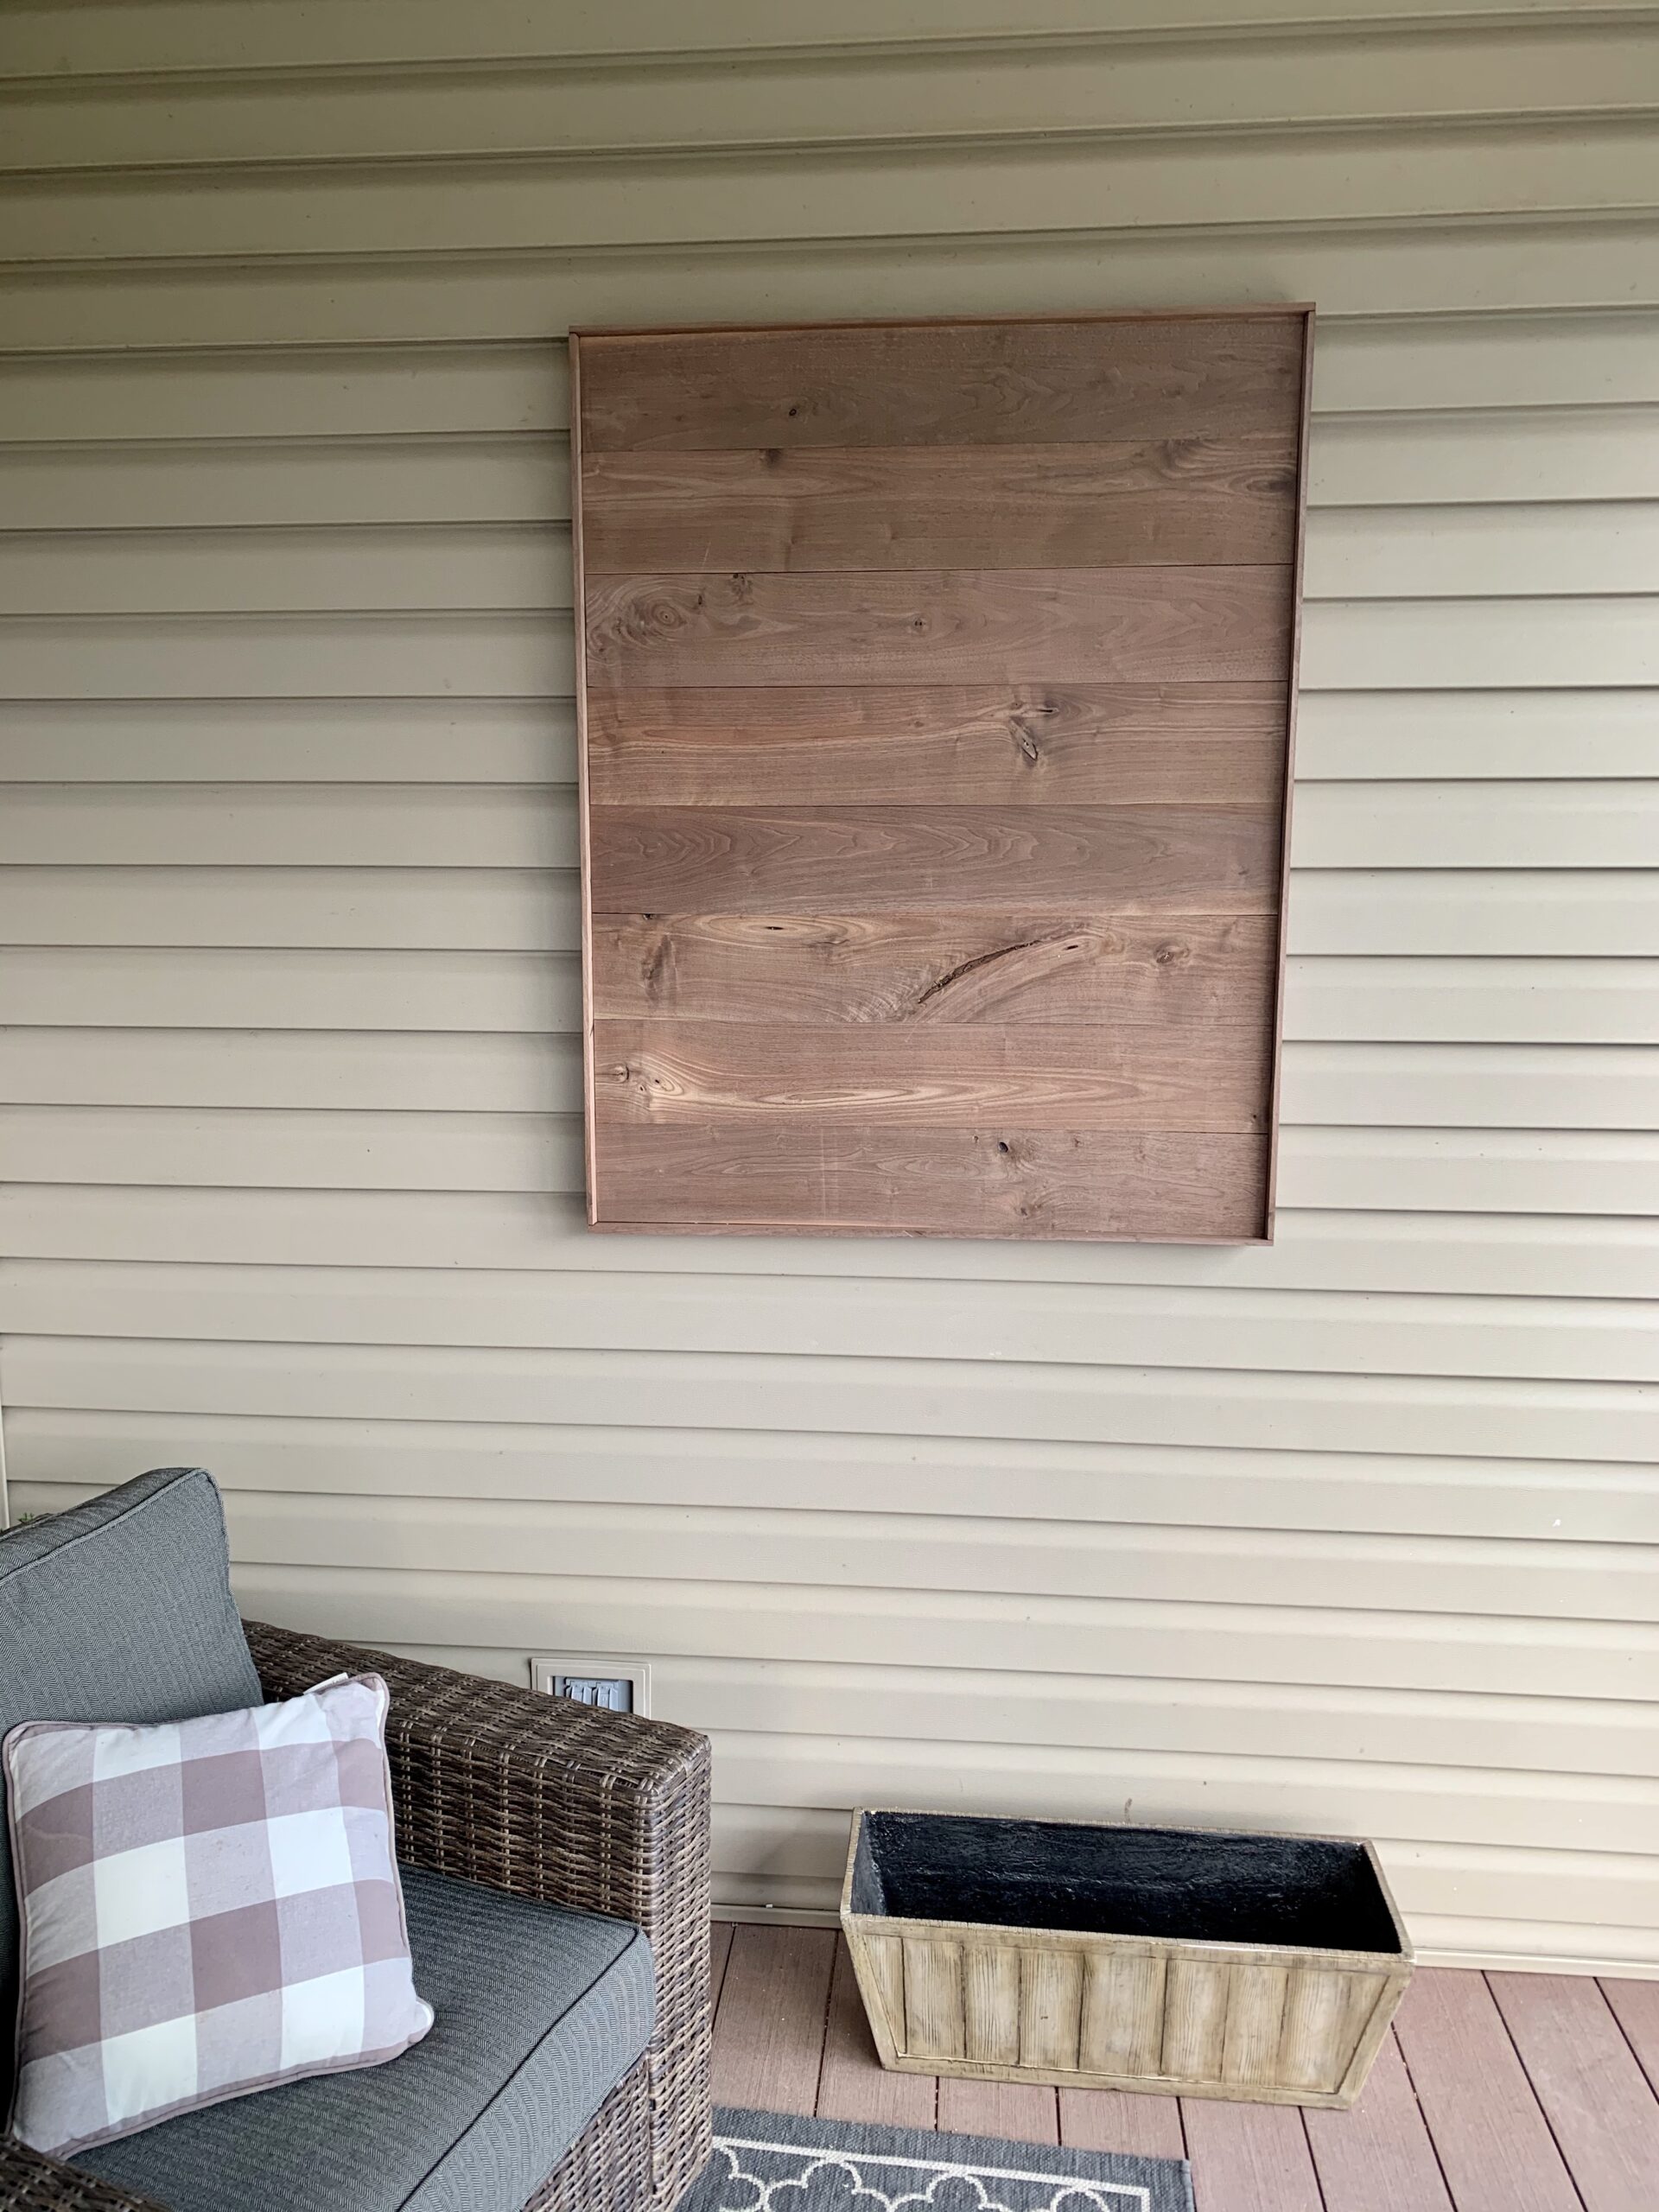
We loved the look of this but decided to add a clear coat of polyurethane to make it a bit more glossy and a little darker. This is what we used:


Pots and Planter Holders
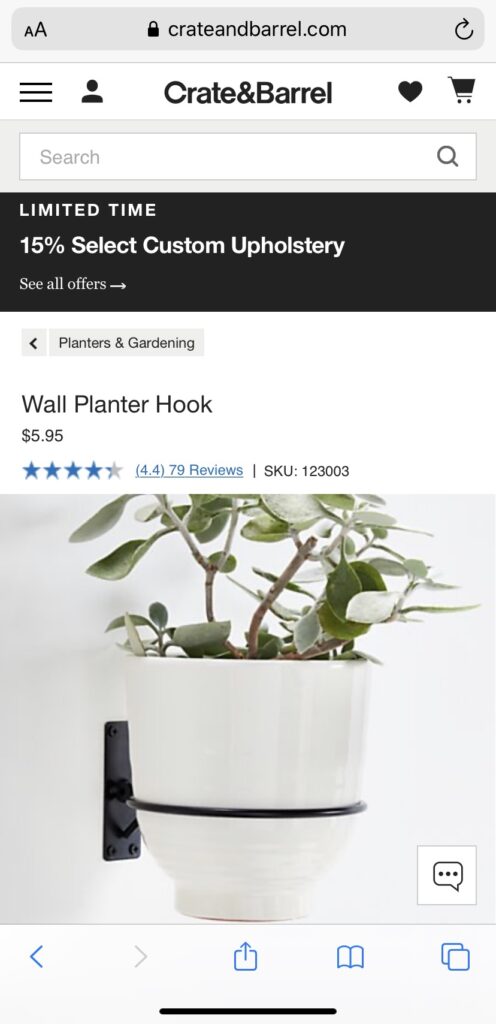
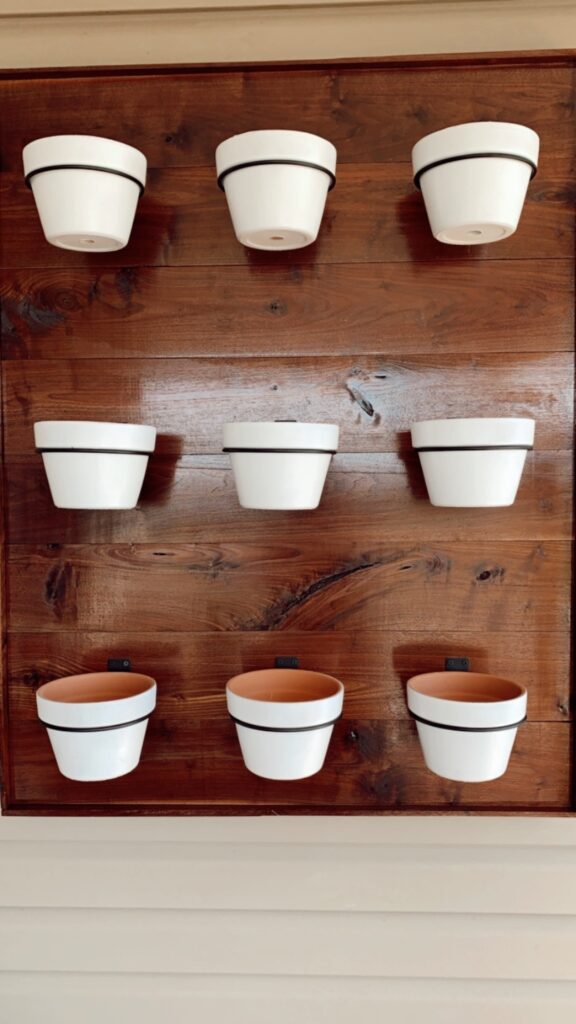
The search for pots and iron planter holders was complicated. We felt like we were guessing on which holders would work with which pots. After searching Amazon and other home stores, we settled on these Crate and Barrel holders. We ordered and planned for 9 but I have seen cute walls that have 6 or 8 plants if you prefer.
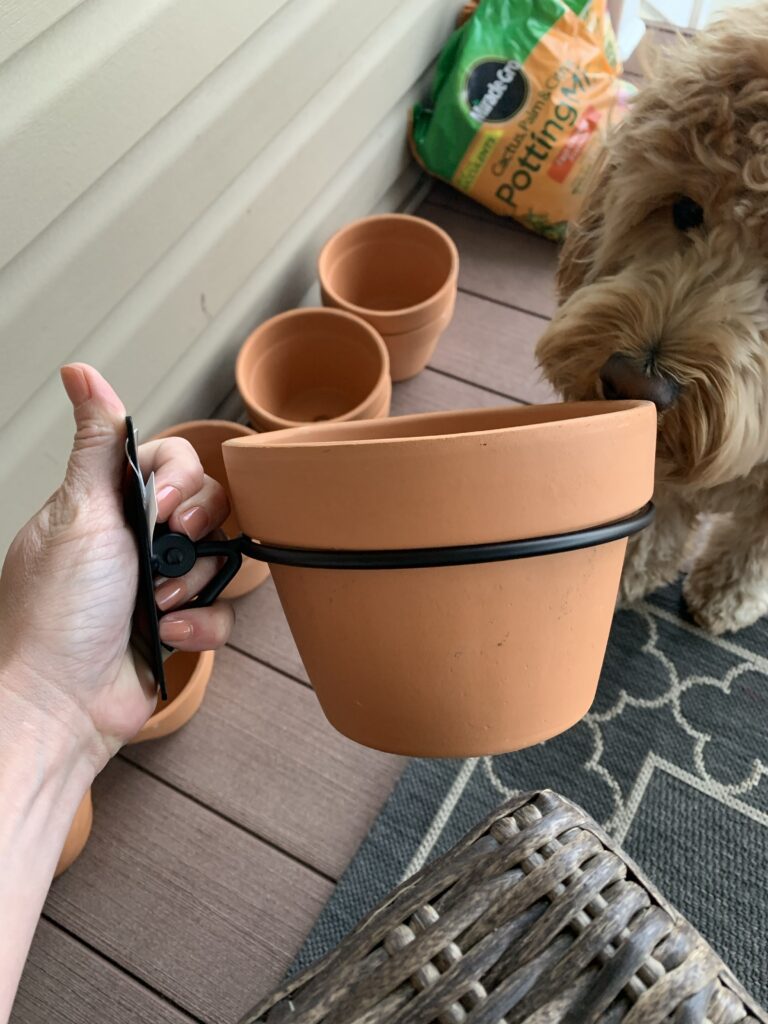
The pots that ended up fitting well with the planter holders (Crate and Barrel sells no coordinating pots…?) is the 6.75 inch terra cotta pot from Home Depot. The 6.75 inches is the measurement between the outside edges of the rim.
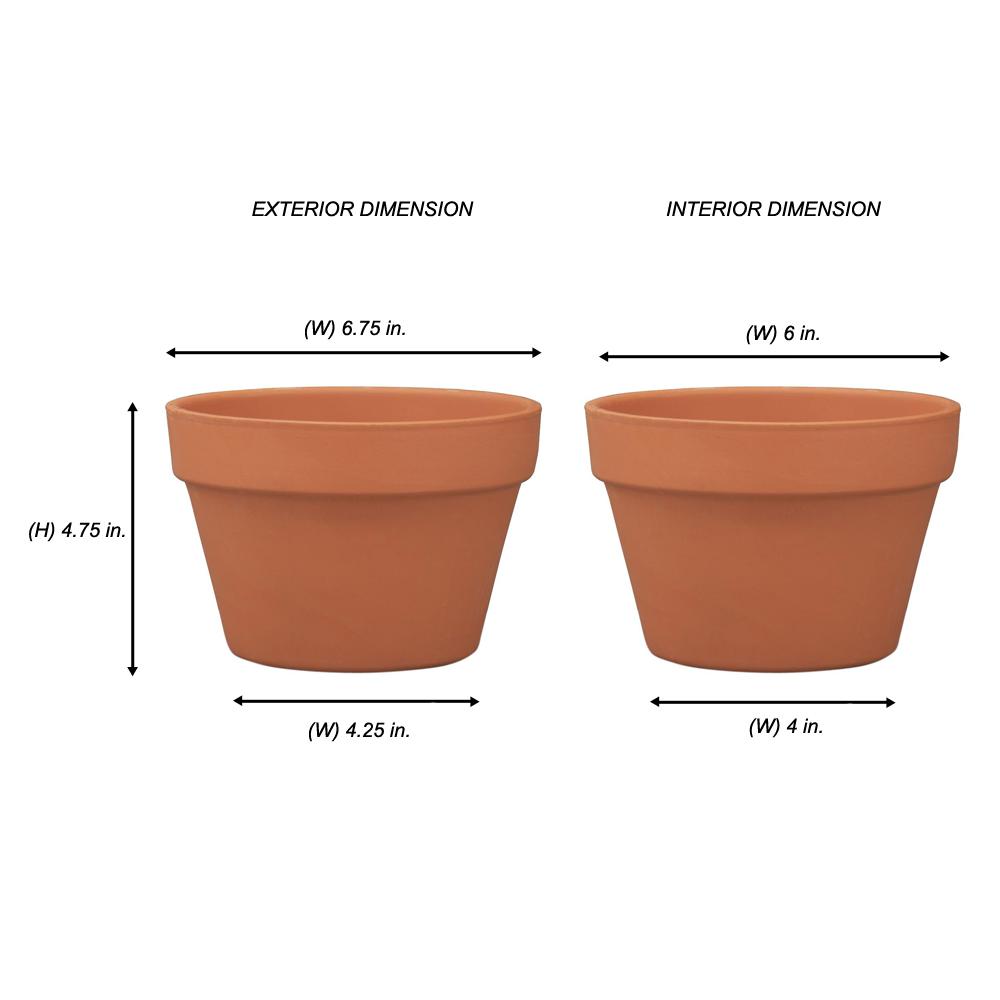
These pots were only around $2.50 a piece and very easy to spray paint. It took roughly three coats of this paint and primer combo. I decided not to paint the inside of the pots.
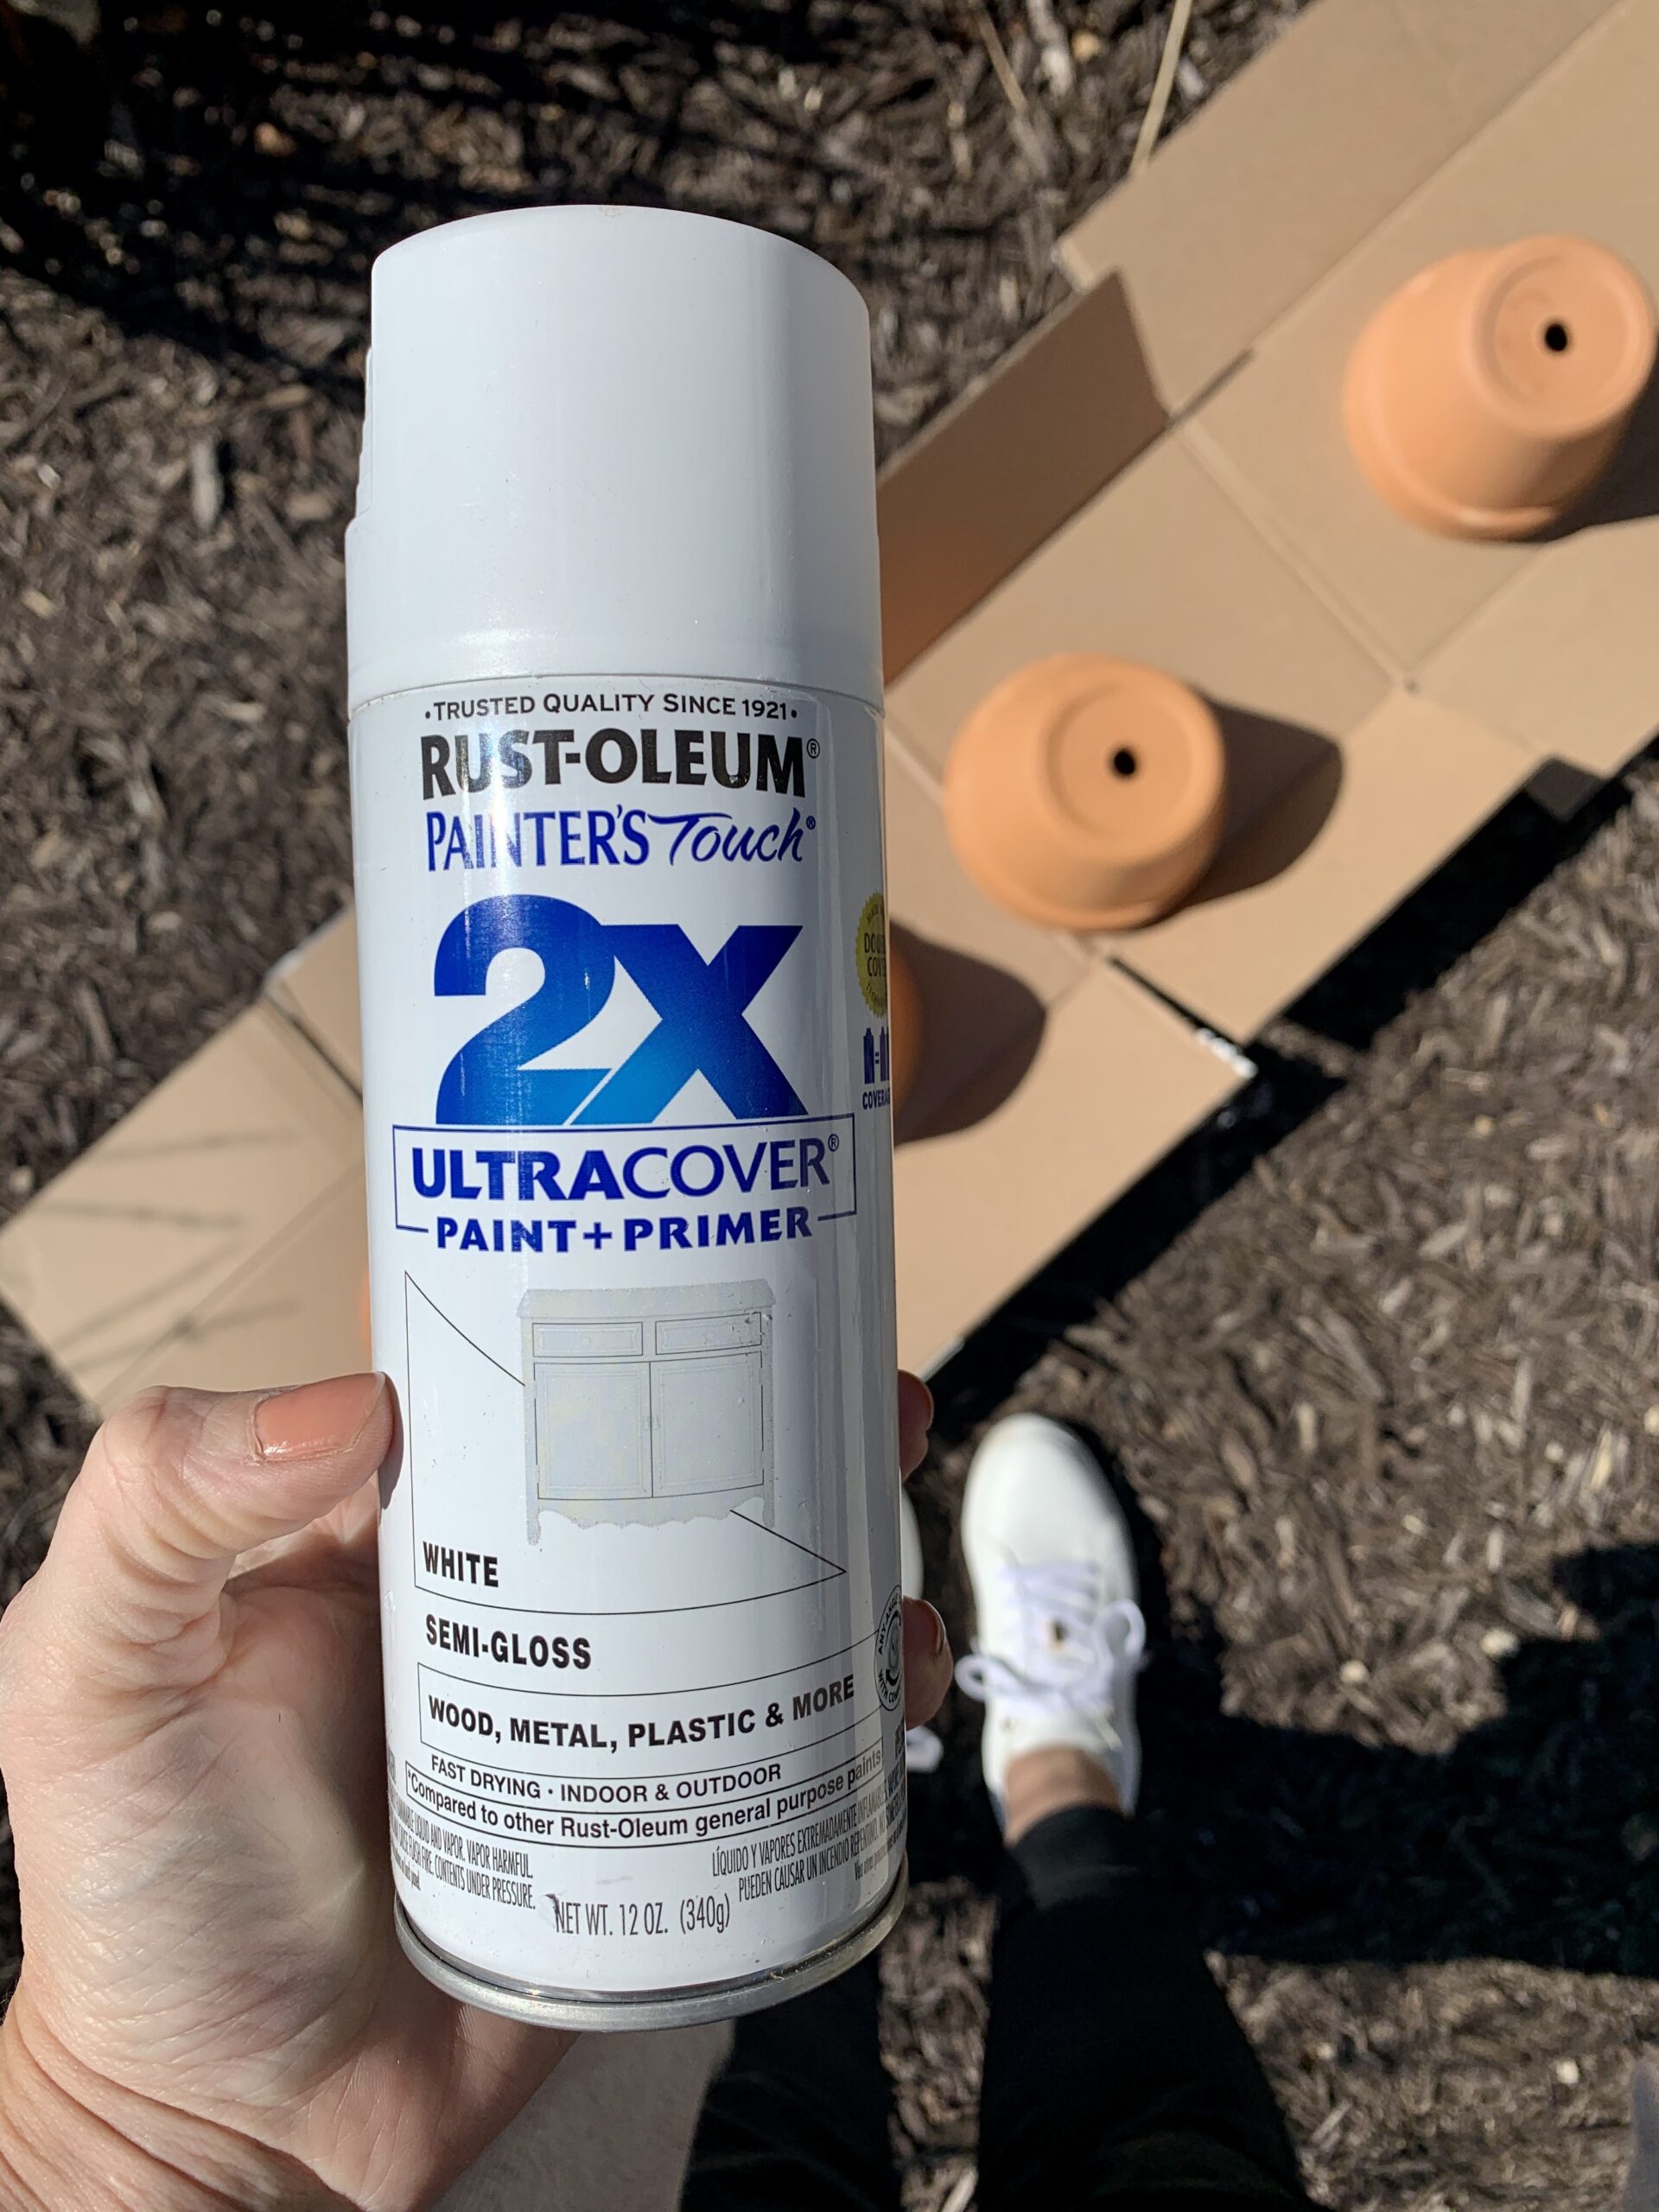
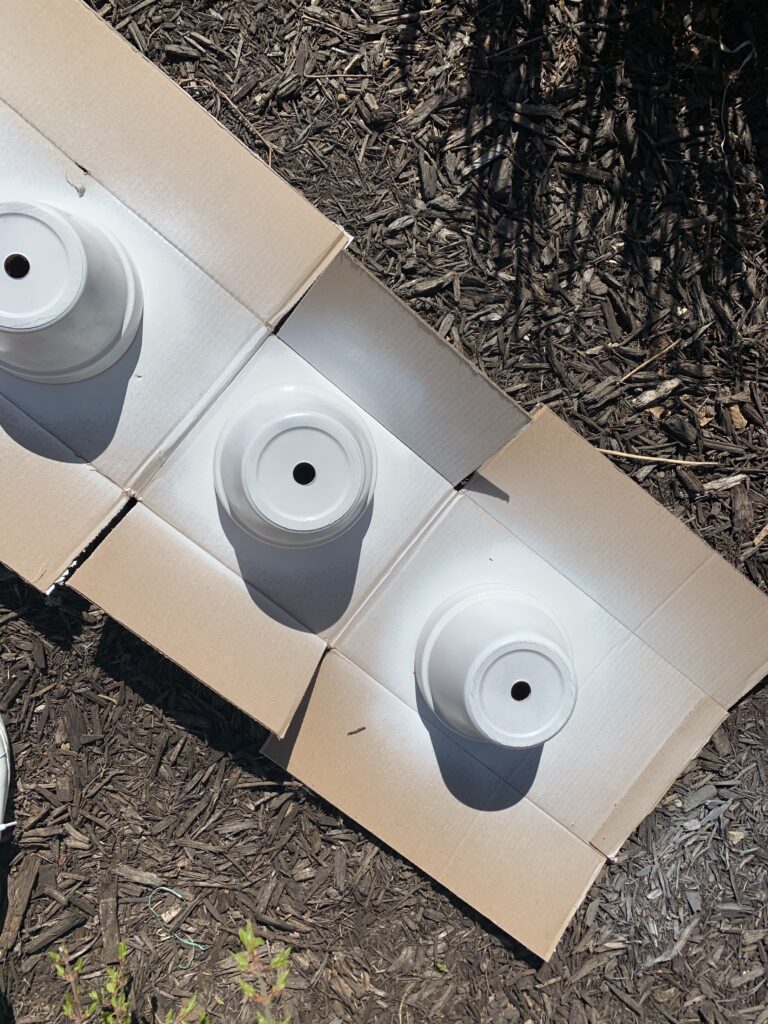
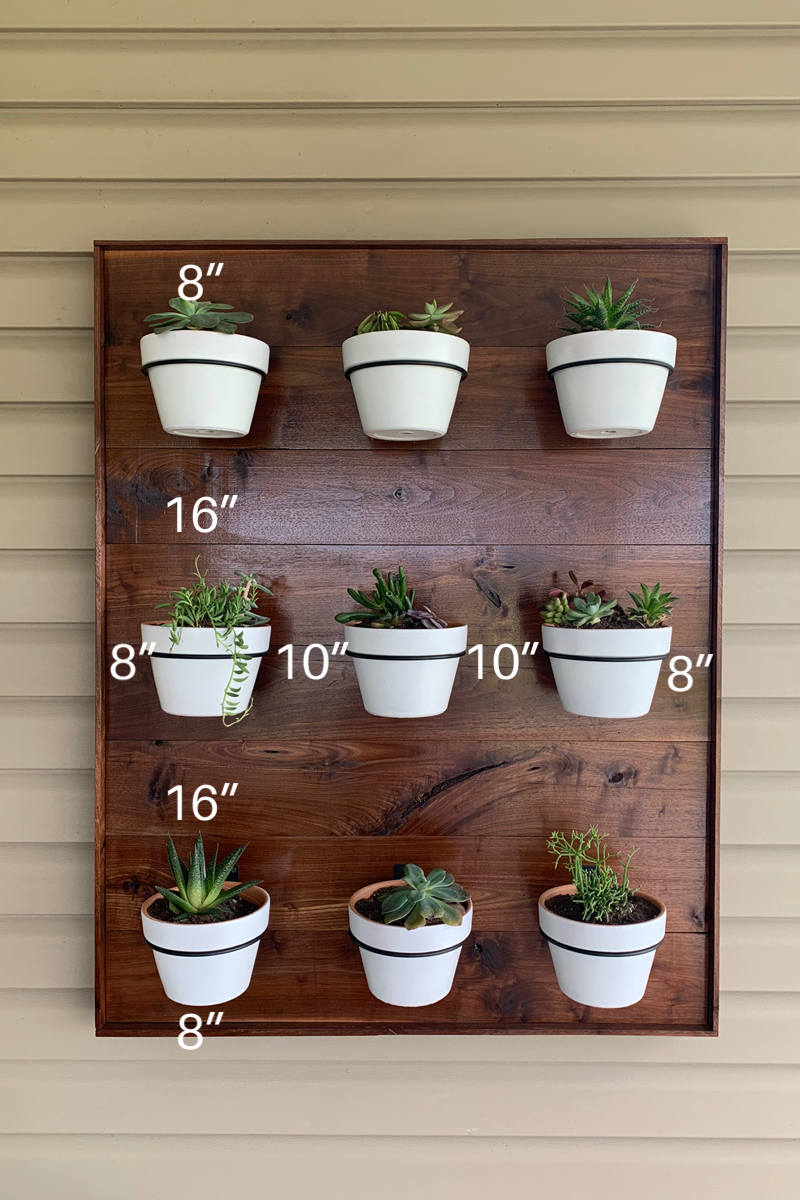
Another challenge was figuring out how to separate/space out the holders on the wall. They are very simple to attach, but we did not want the plants to look too close together or too far towards the top or bottom. It took awhile to measure and re-measure!

Here are our measurements for your easy reference if you decide to make one of these walls. This turned out to be a great size for a wall and the pot spacing turned out perfectly.
Succulents

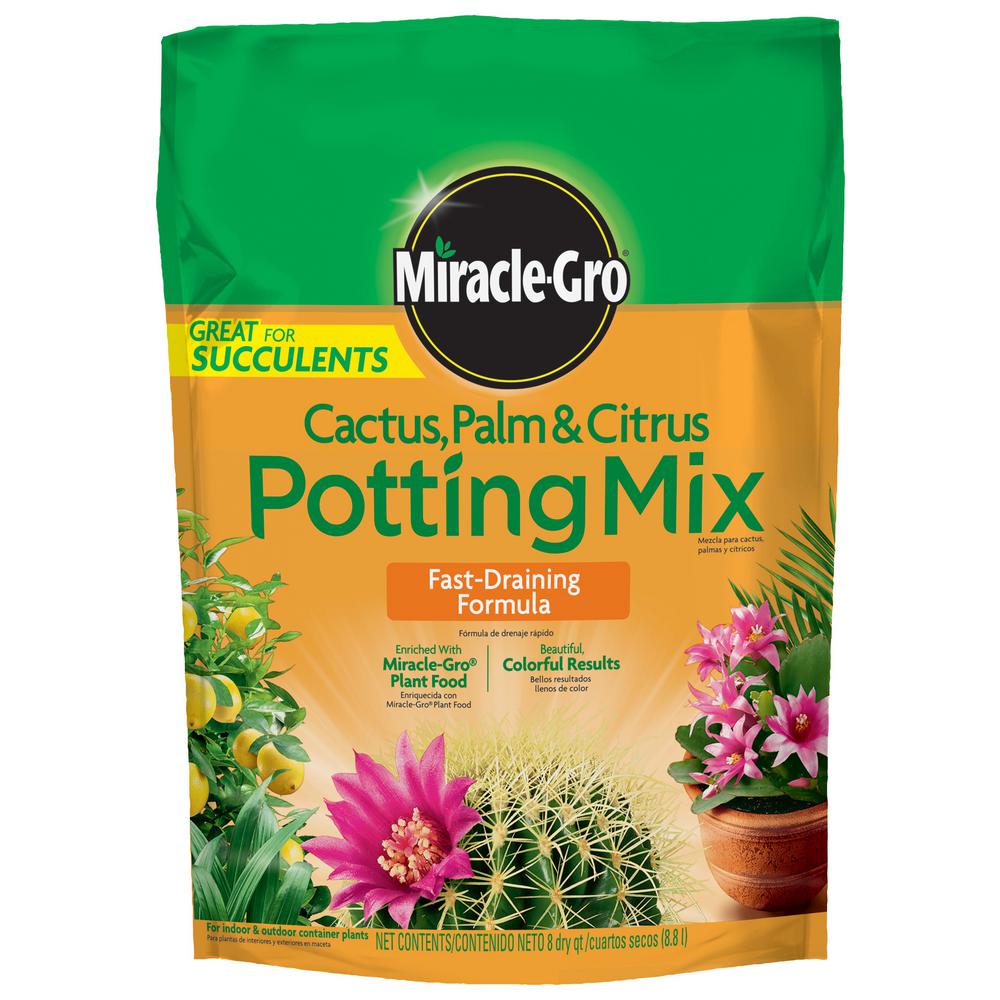
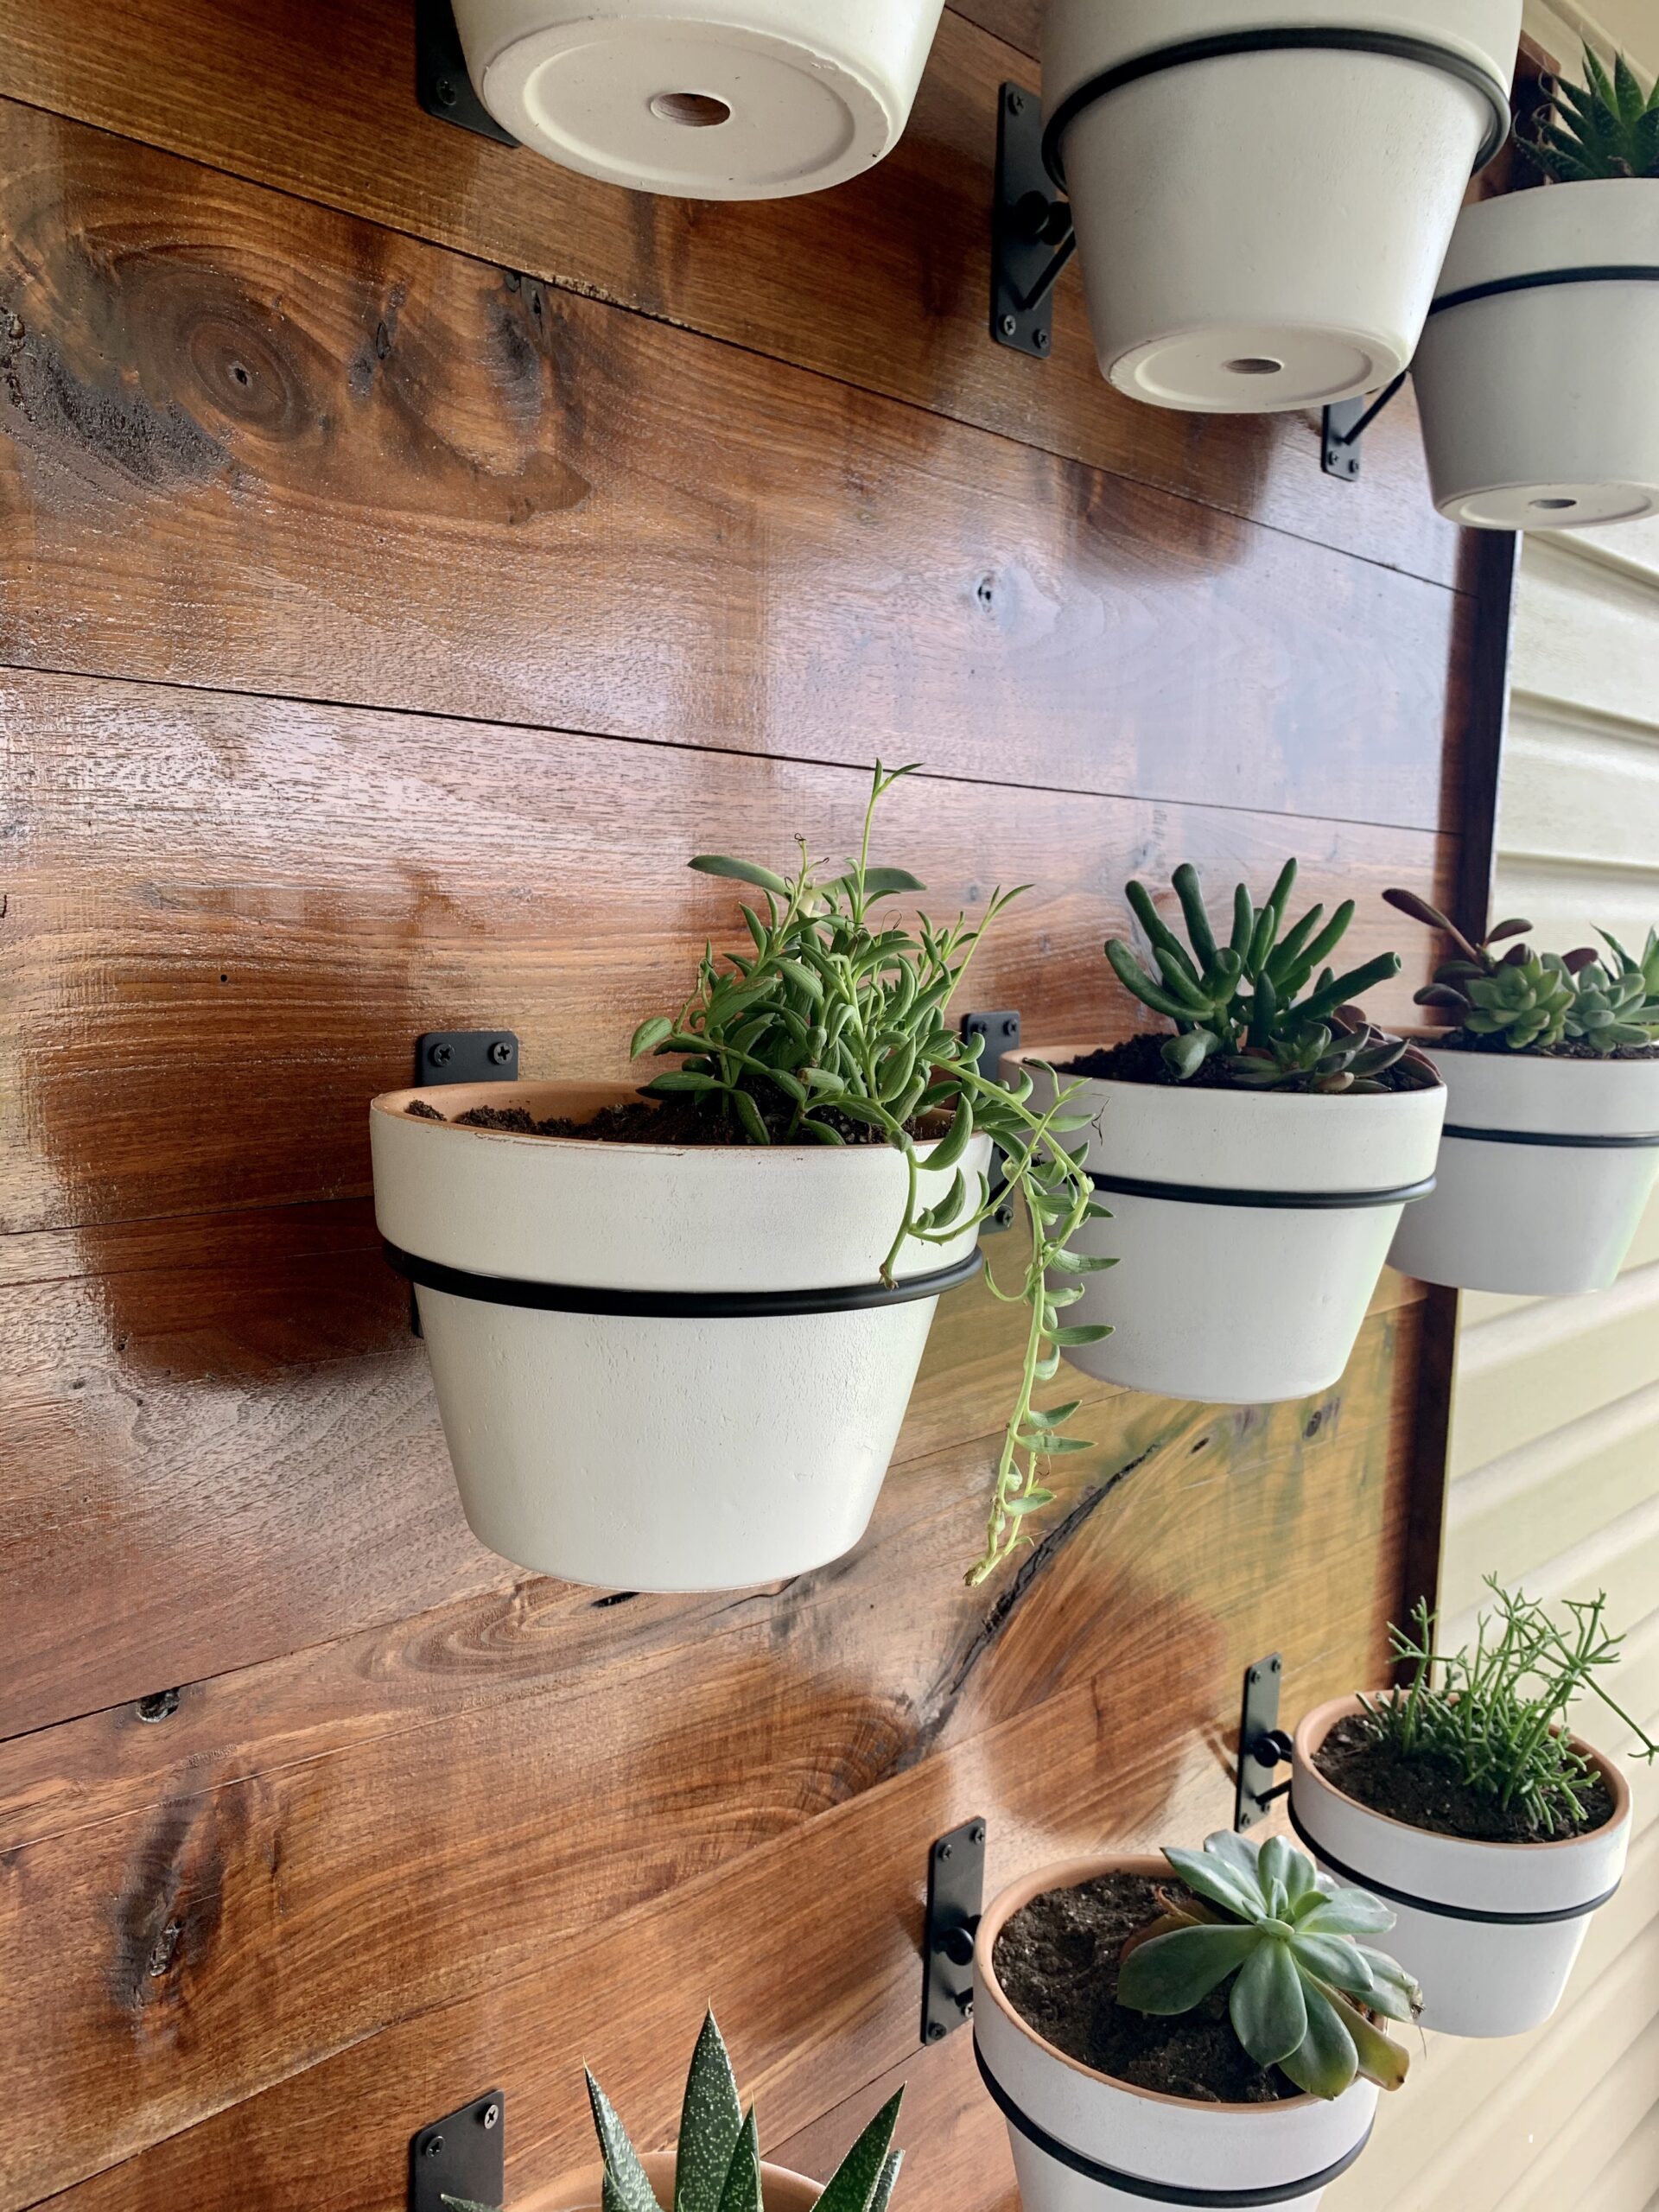
Once the spray paint was dry, the kiddos helped me to plant my succulents which were also found at Home Depot. Larger succulents were placed more towards the front of the pots and some smaller ones were grouped together. We used this succulent soil and have not watered our plants at all.
Now, I do have a notoriously black thumb so I cannot guarantee these lovelies will be alive in another month. But this wall will be perfect with faux succulents or faux herbs in the future. I have it positioned where it will not get much sun, so faux might be best.
Immediately after we got our wall planted, our little birdie friends started to build their nests! A friend had told me she had a dollar store snake in her front door wreath. We raided the toy box and found this toy dinosaur! I really don’t think anyone can notice it tucked away at the top and so far it has worked like a charm!!!

This easy outdoor succulent wall was such a fun project!

Happy planting!
-Kelly ?
